Stunning Arched Built Ins and How to Create Them- DIY
Arches…A Simple but Stunning Trend in Home Design
Do it yourself arched built ins. Need I say more?? Have you noticed arches in the world of trending architecture and interior design? I love the classic character an arch can bring to an otherwise mundane space. Certainly, arches are a simple but stunning trend in home design right now.
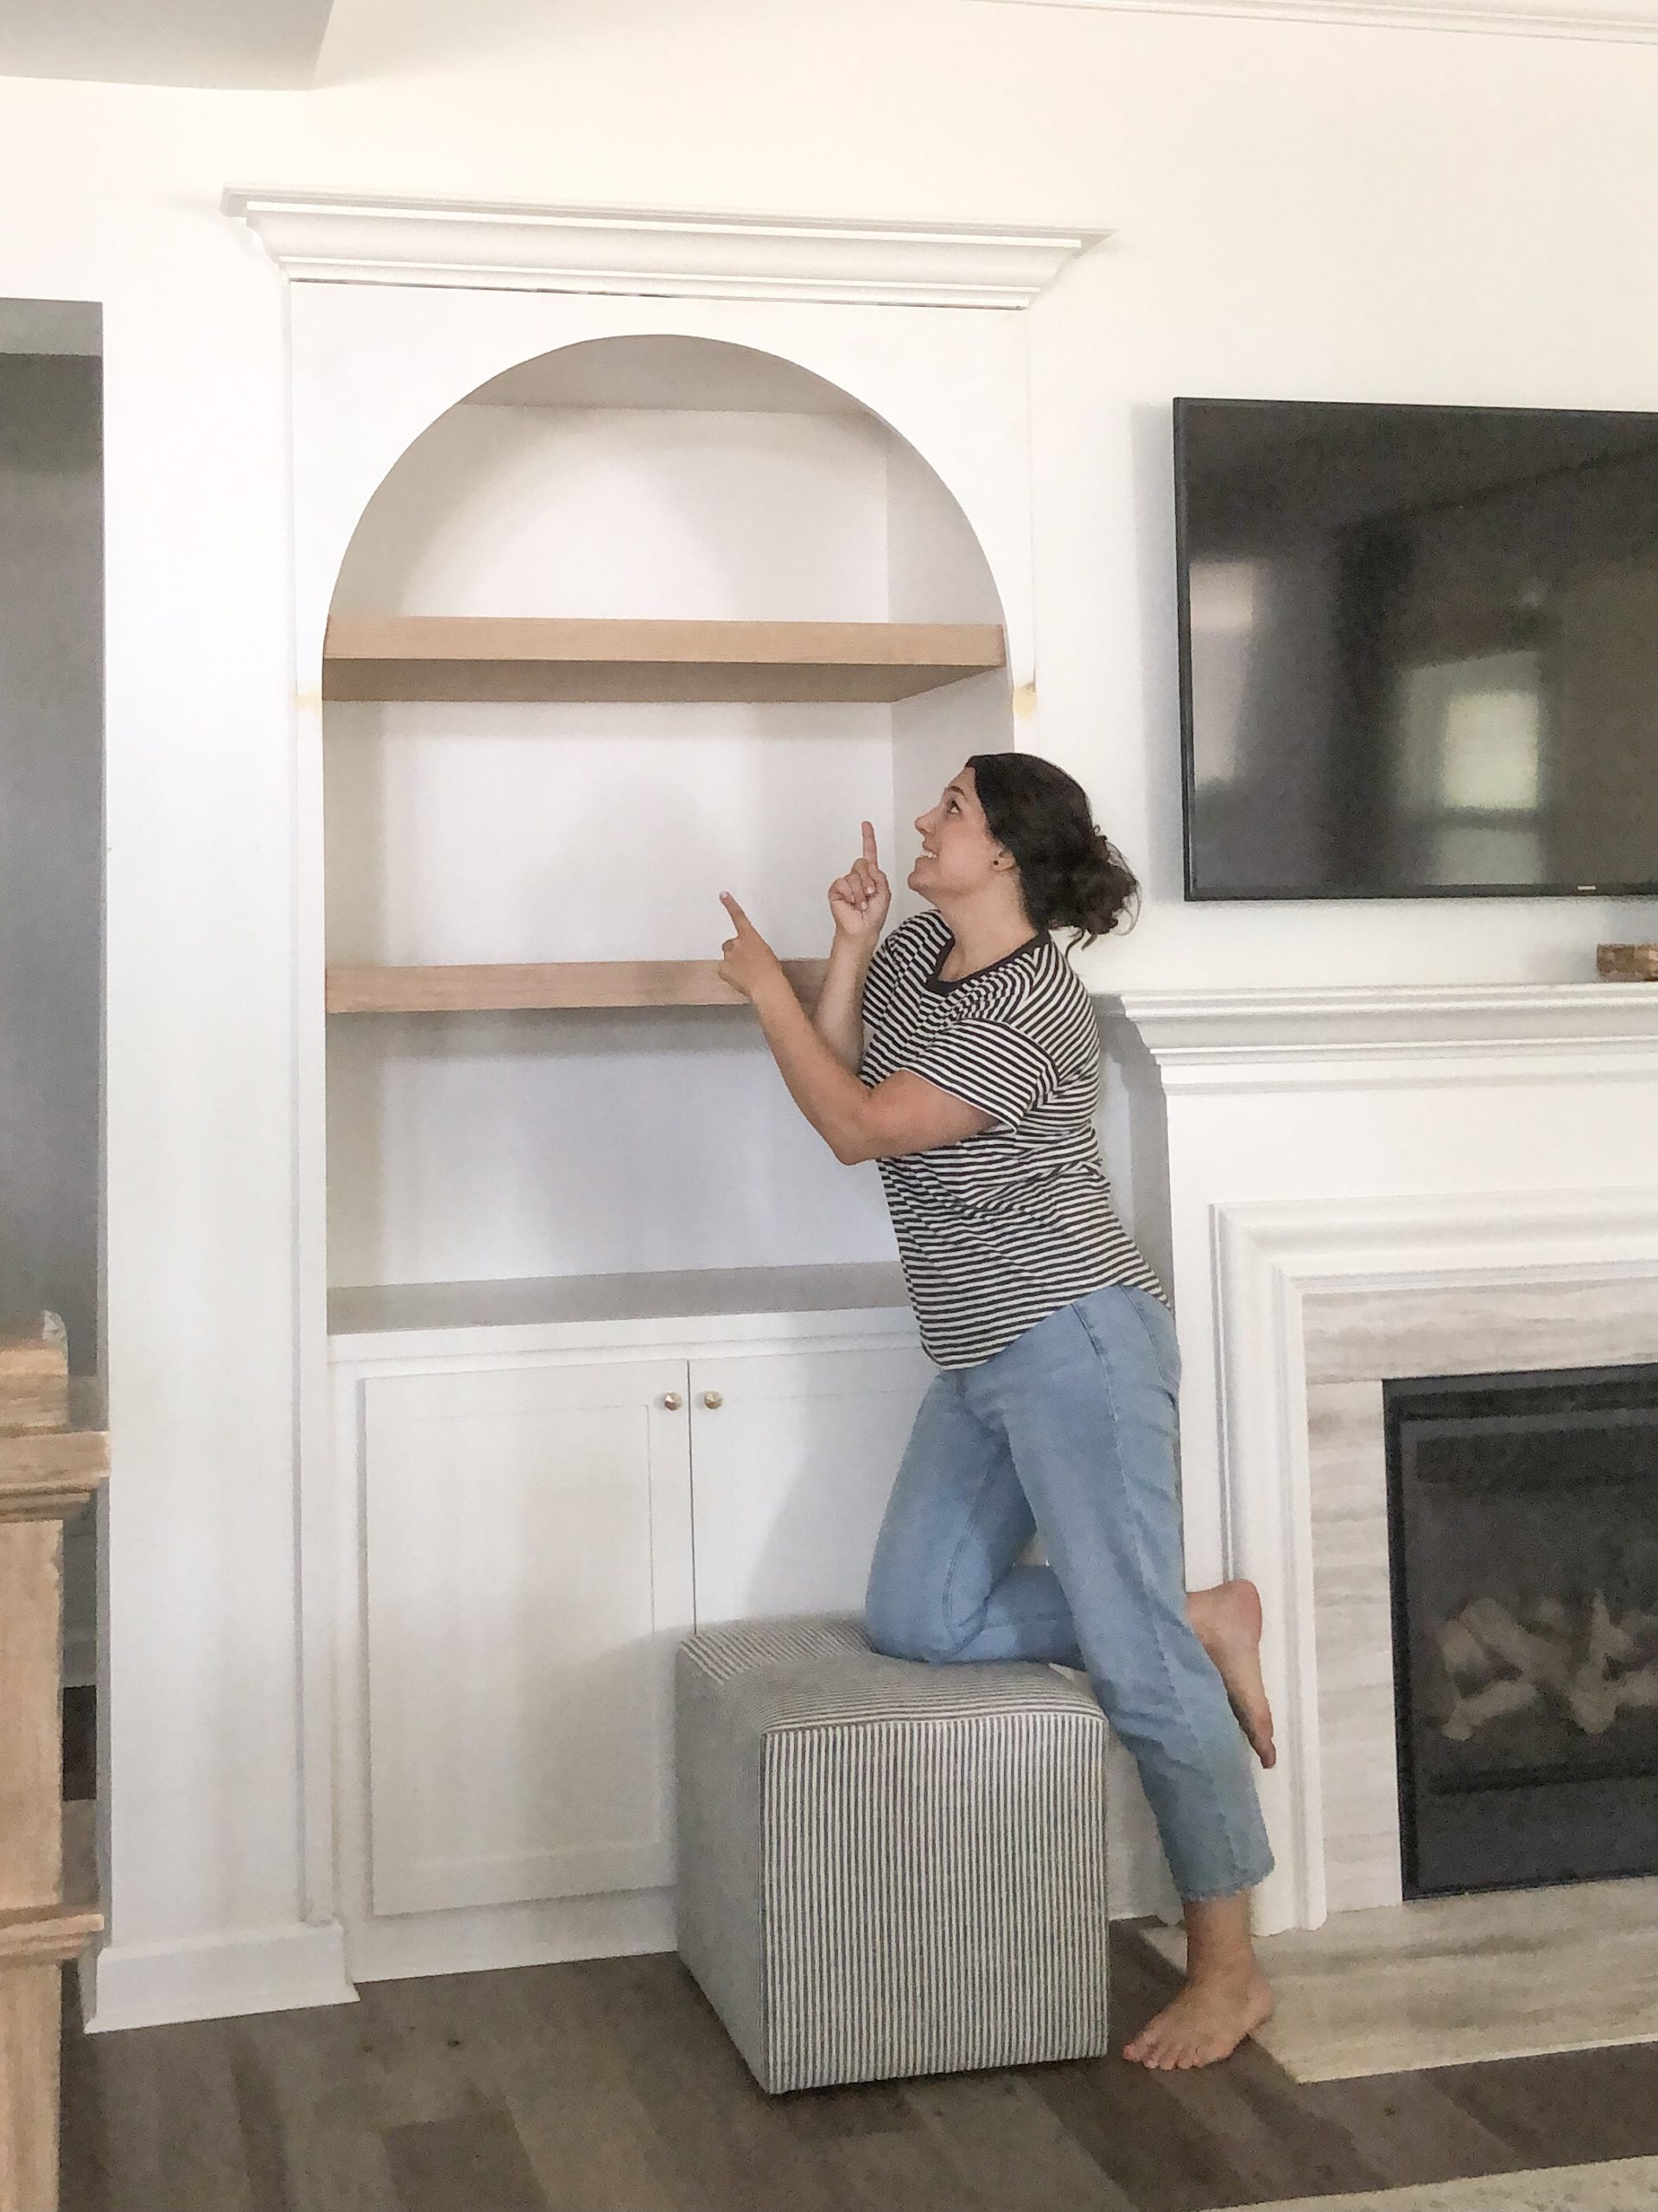
For instance, the shelves in our living room were just that…mundane and boring, especially with our white walls. I will always be a fan of white on white on white…on white on white one white Haha! However, they did need a little something more.
Before Arched Built Ins

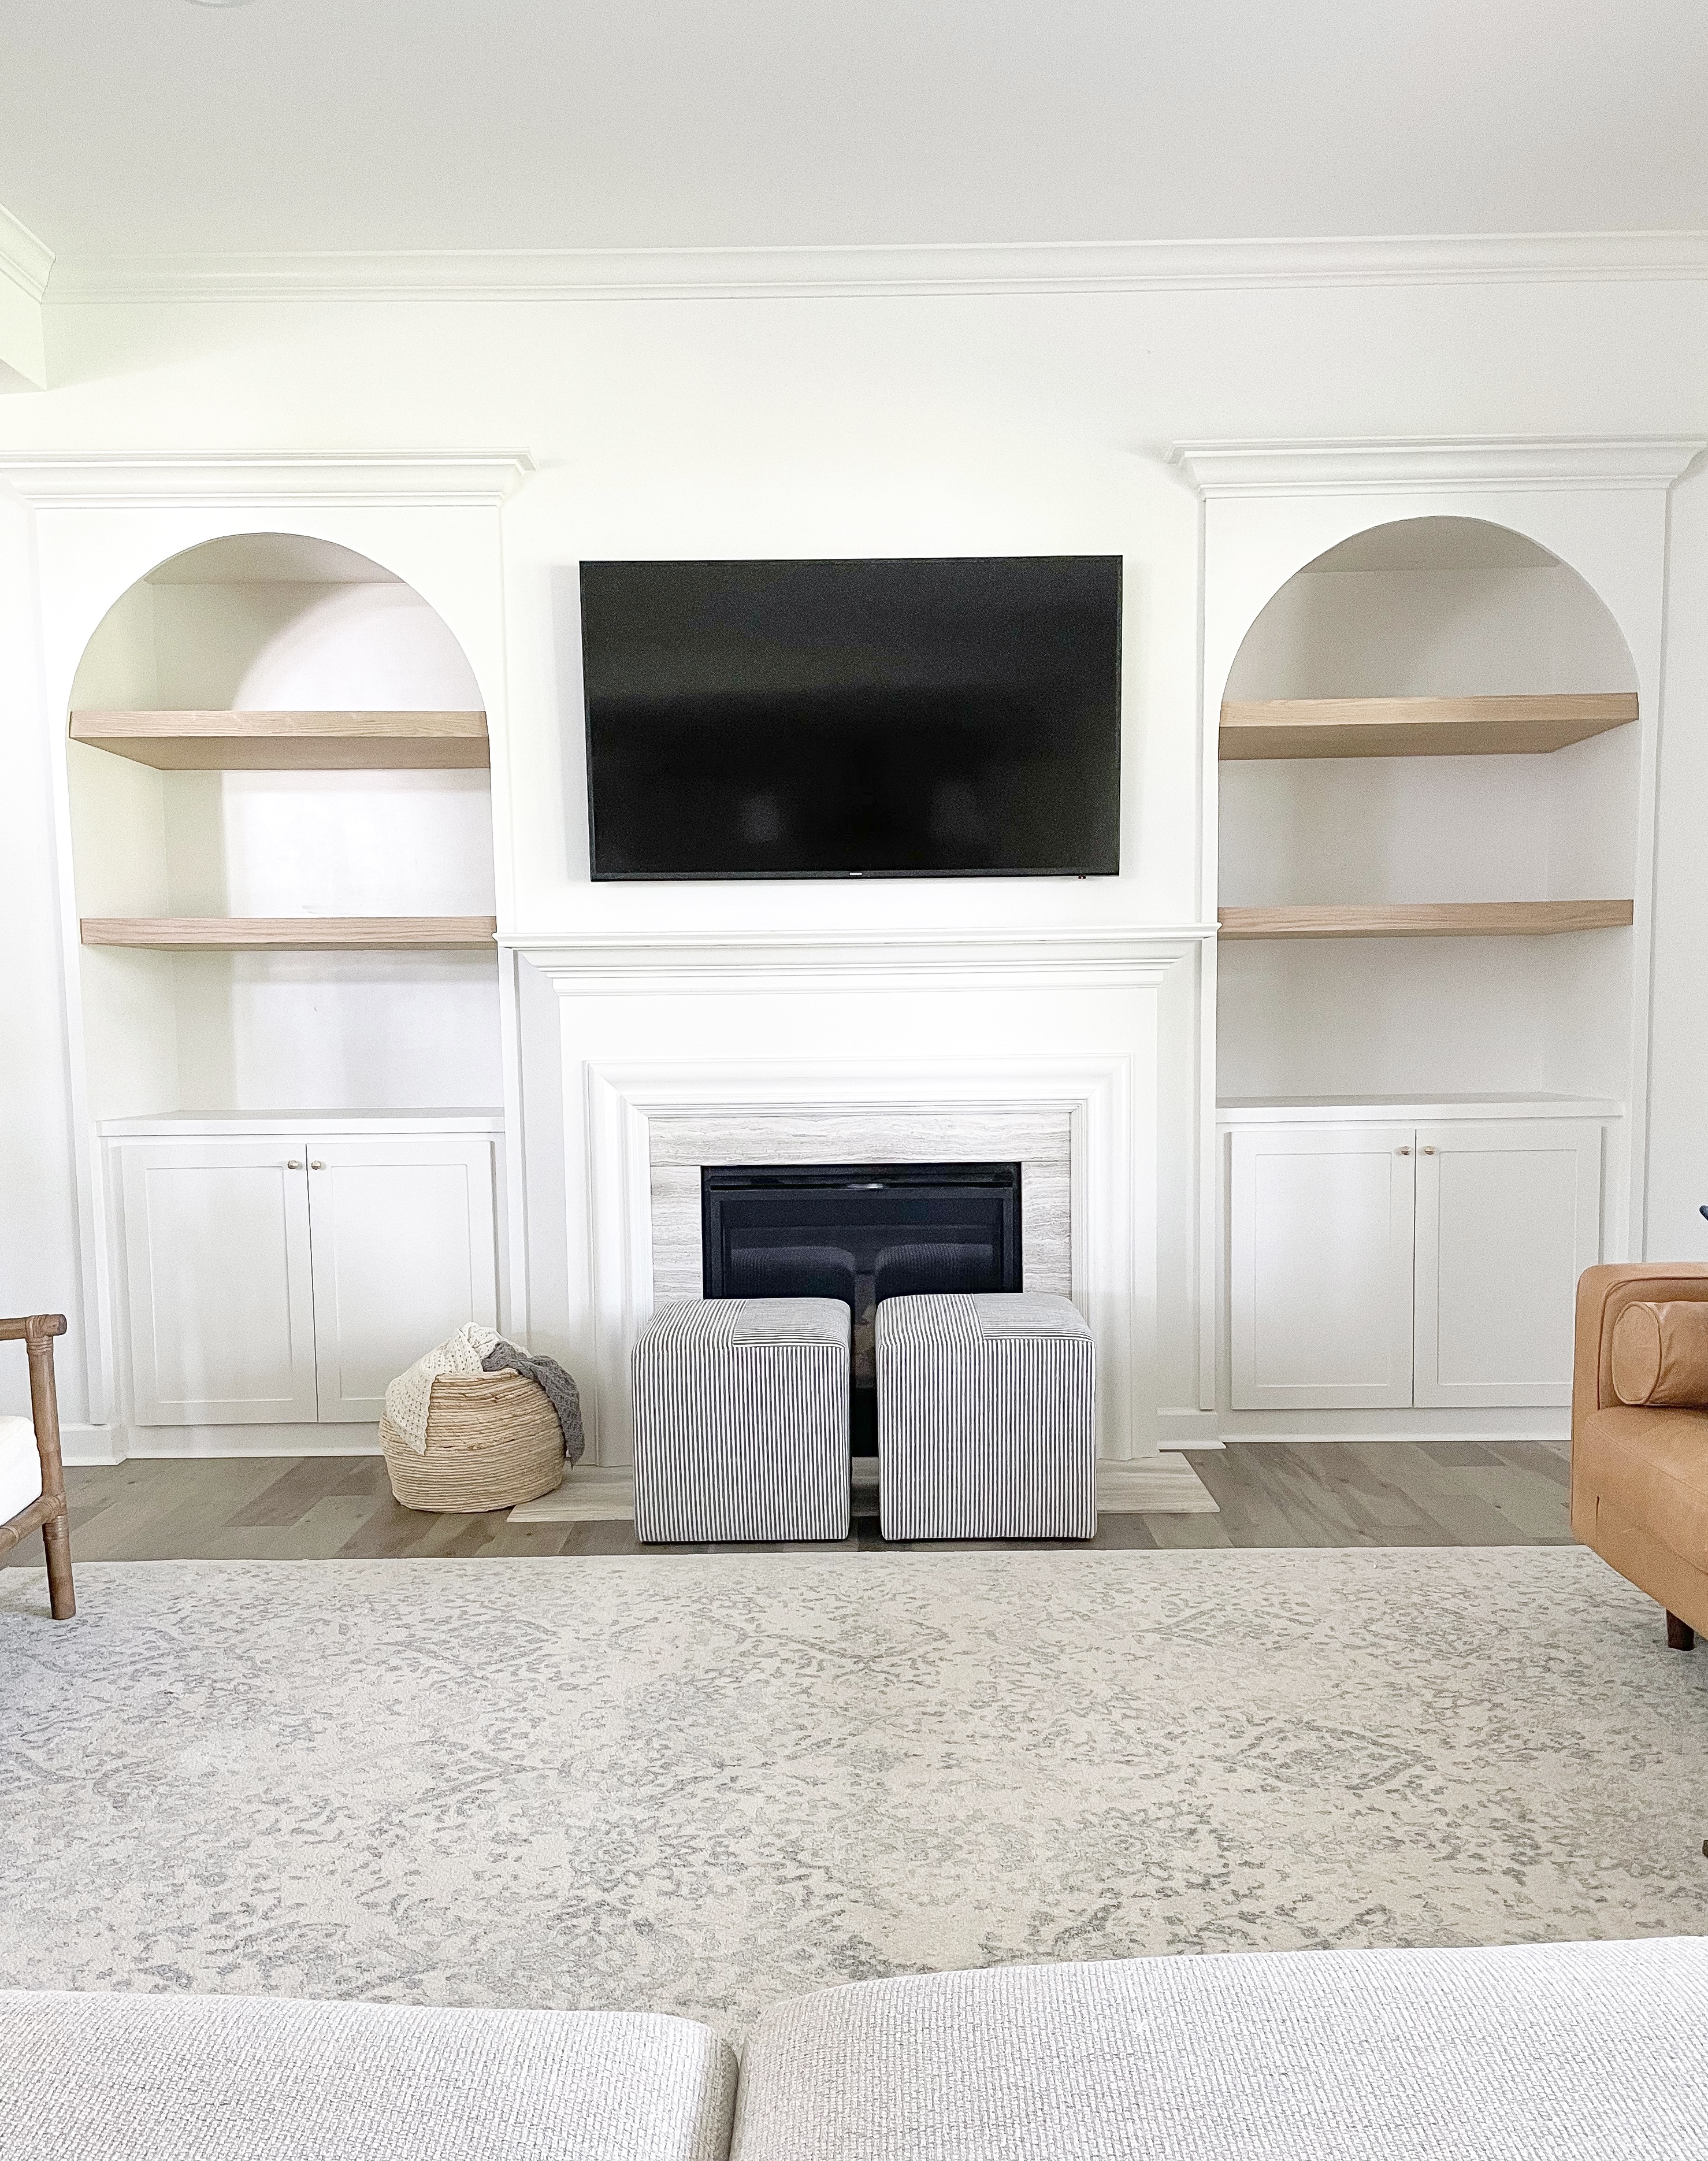
After Arched Built Ins
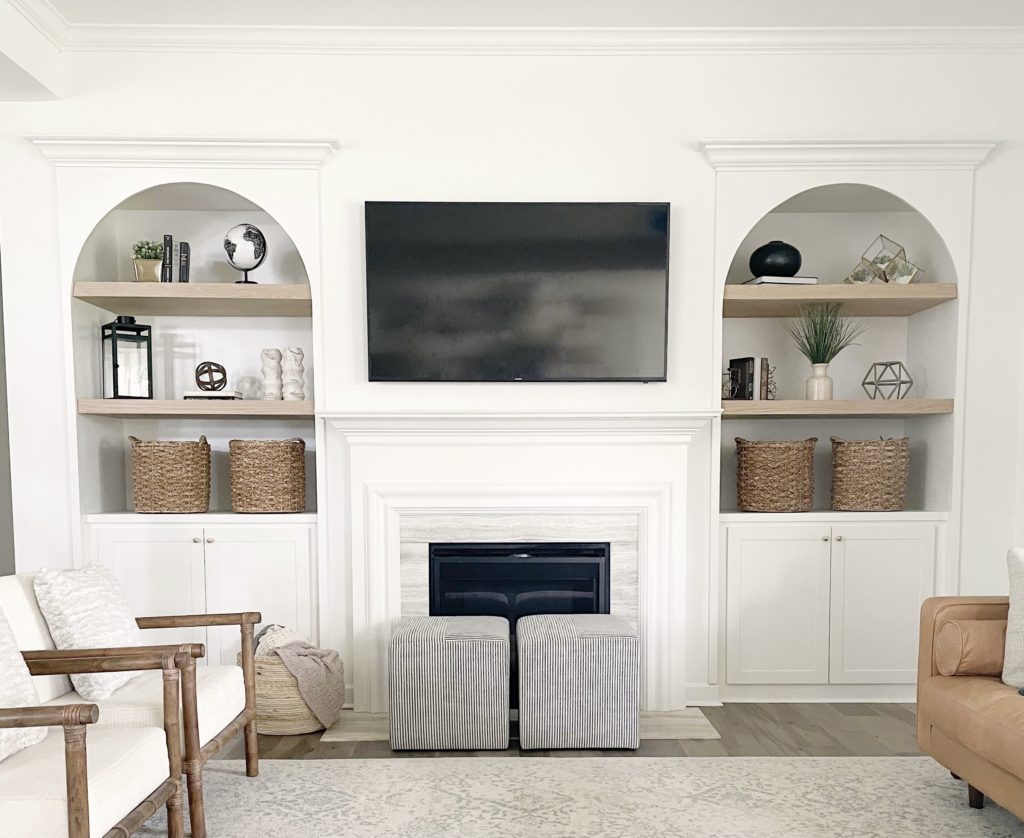
How I Created Arched Built Ins and Custom Shelves
First, I decided to wrap the shelves in wood to add some color contrast AND give them more of a floating shelf look vs. a one tone built in look.
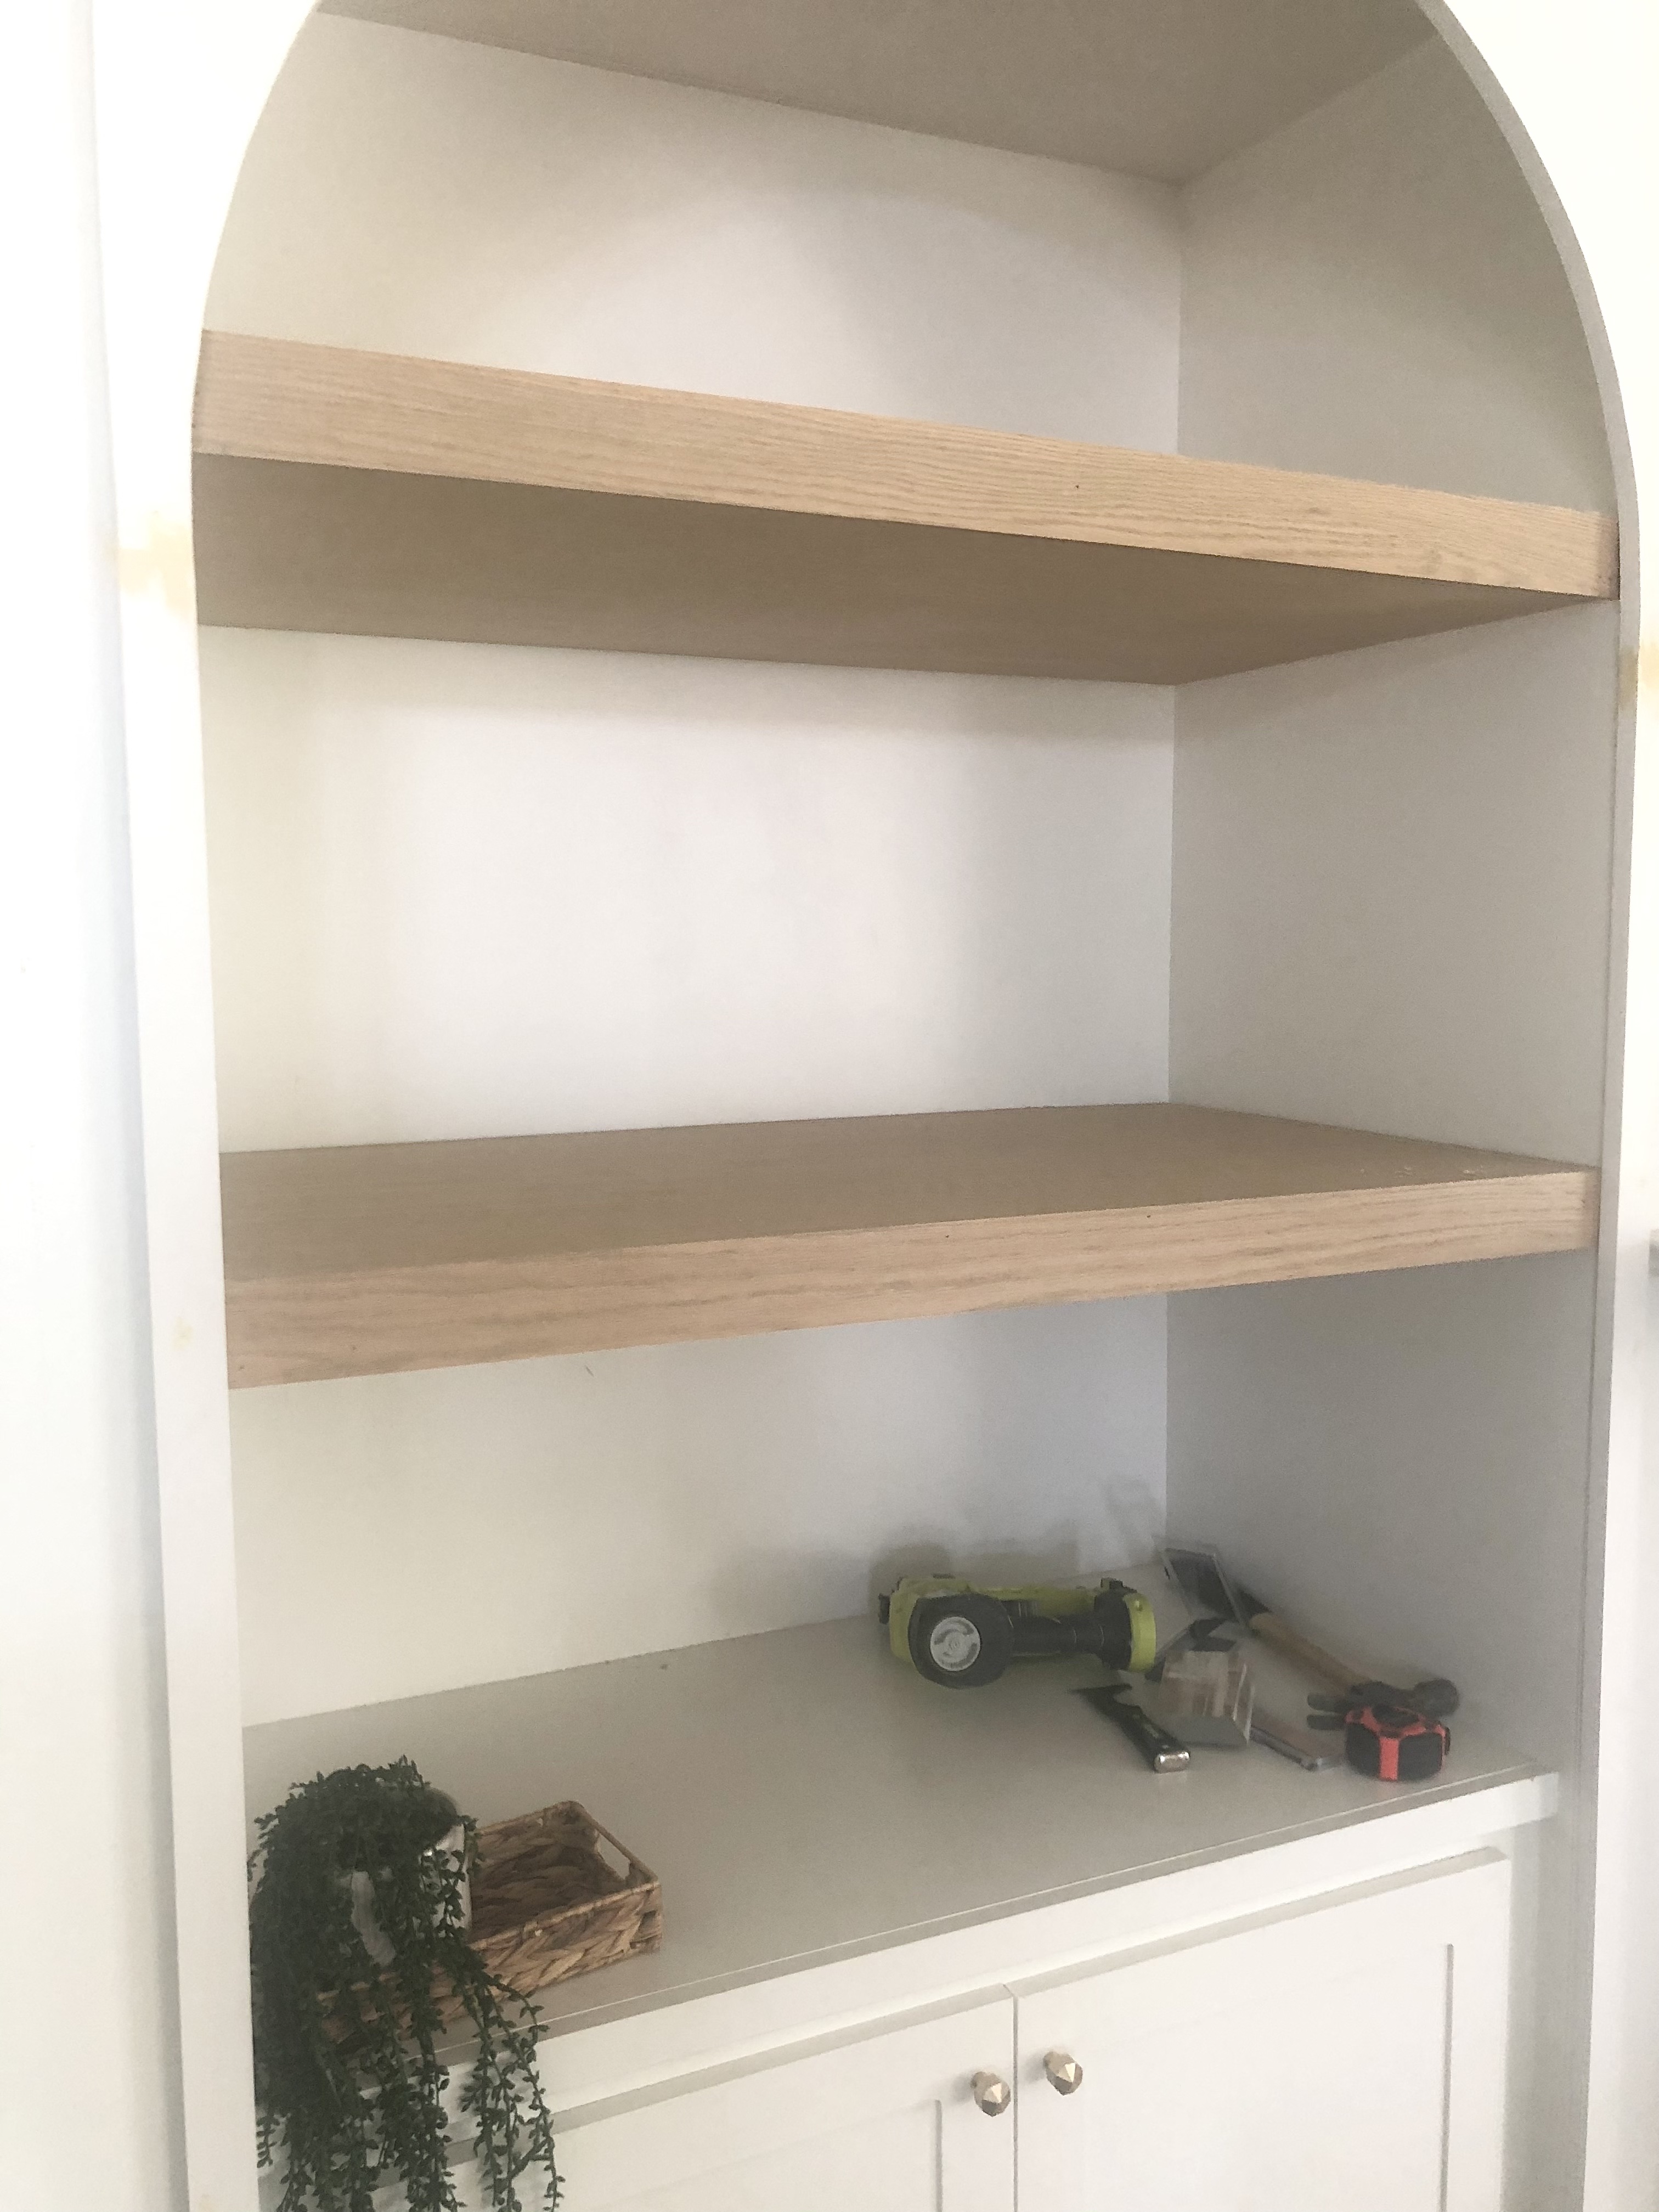
Next, I wanted to add some front detail around the shelves to make them look more finished.
To clarify, I decided to use the existing shelves as the frame for the new shelves and wrap them in thin pieces of wood. So if you don’t have existing shelves you will need to build an inner frame for your floating shelves.
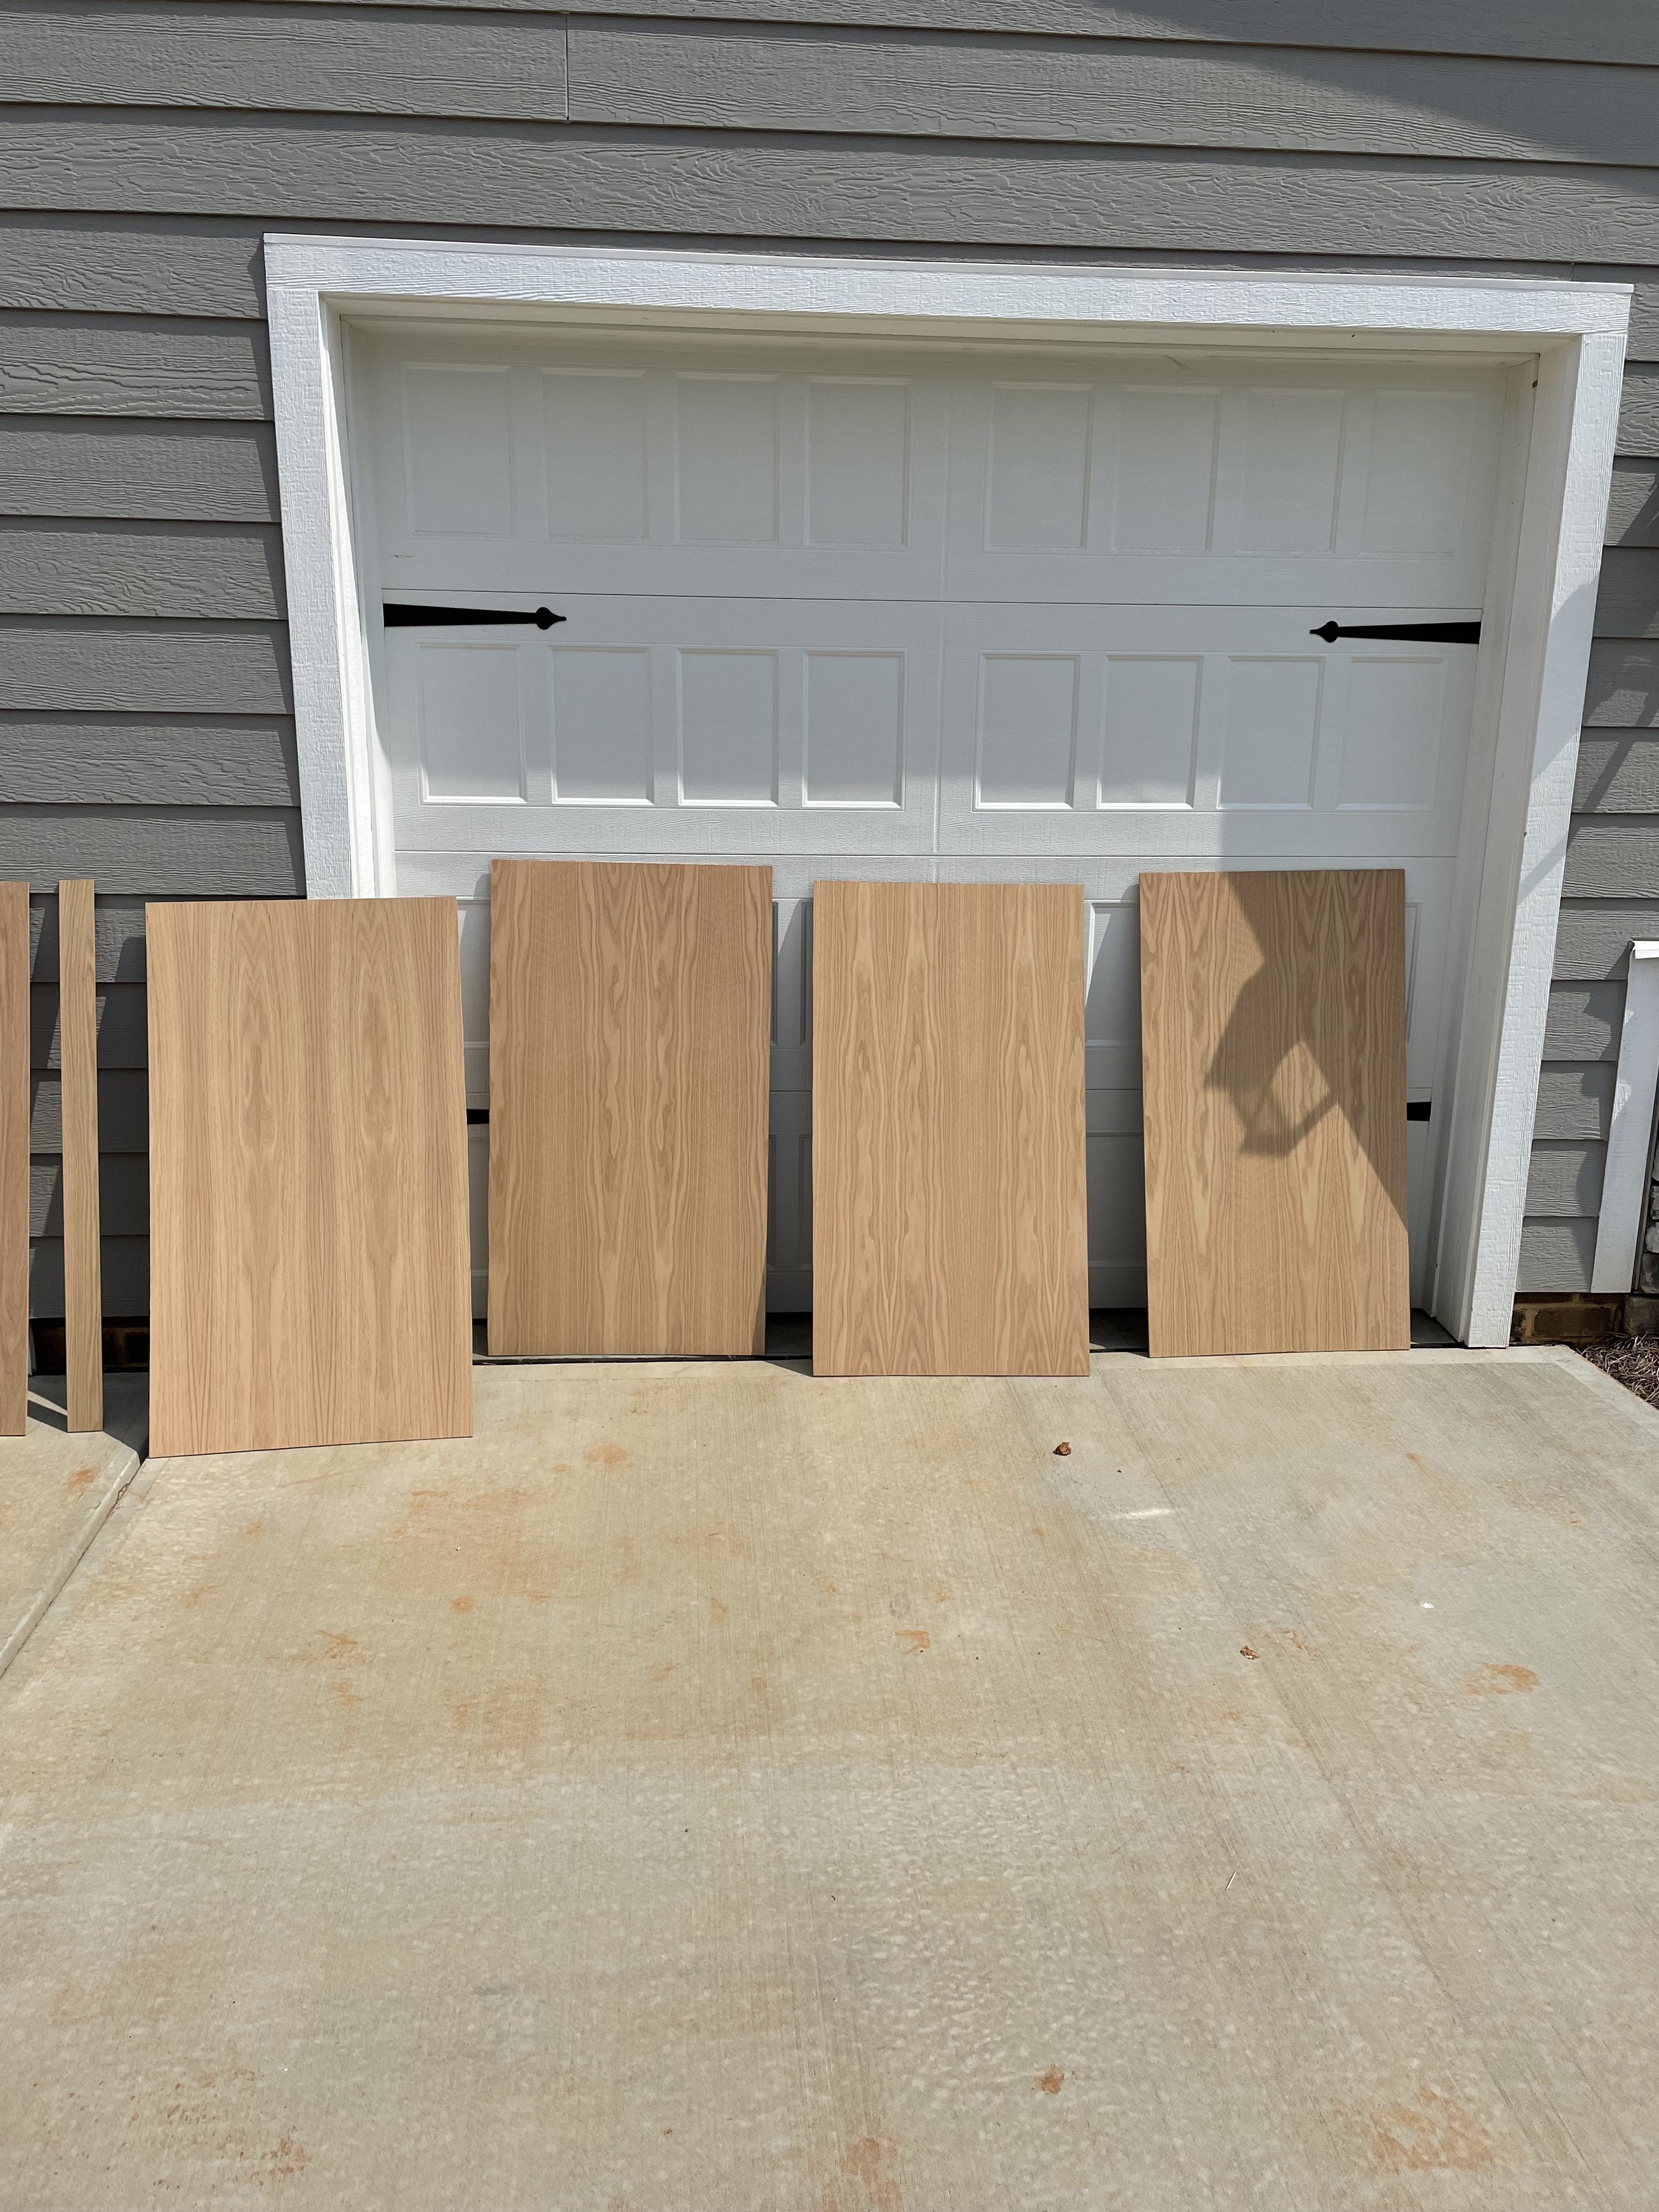
Supplies Needed for the Shelves (4 shelves):
- 8 1/4 inch plywood of your choice, cut to size (I used 2’x4′ Oak) You can have the stores cut it for you if you don’t have a saw
- Wood glue
- Finish nail gun and 1″ nails. This is our nail gun and we love it.
- Stain (I used a custom SW stain)
- colored Wood filler
- matte polyurethane
Supplies Needed for the Arch
- 3/4 inch MDF (I used 2’x4′)
- 4 primed 1x2x8 MDF or Pine
- Thumbtack and string to draw the arch
- jigsaw We have this budget friendly option or you can get this battery powdered jigsaw
- wood filler
- sandpaper or sander
- caulk
- paint
Lets Make these Arched Built Ins!
- Cut down the wood to the correct size.
First, you want the front piece to have the overhang…so for your top and
bottom measurements subtract 1/4 inch for the thickness of the front piece. - Pre-Stain/Stain
Next, I like to do this before installing, if possible. Its much quicker than doing it after it’s installed. I usually always use pre conditioner before stain to help the stain take evenly.
- Intall the wood around the existing shelf frame.
Now, use a little wood glue and 1 inch nails around the perimeter to attach the pieces. Nail the plywood to the existing shelf top and bottom first. Then attach the front piece.
Additionally, its important to note that all of the top pieces of the existing shelves should already be flush but you will want to make sure the bottom frame pieces are flush as well. So the front pieces on our shelves were 1/2 inch bigger than the rest of the frame so I took them down, ripped 1/2 inch off, and then reinstalled. Alternatively, you could also buy new pieces for the front that is the correct size.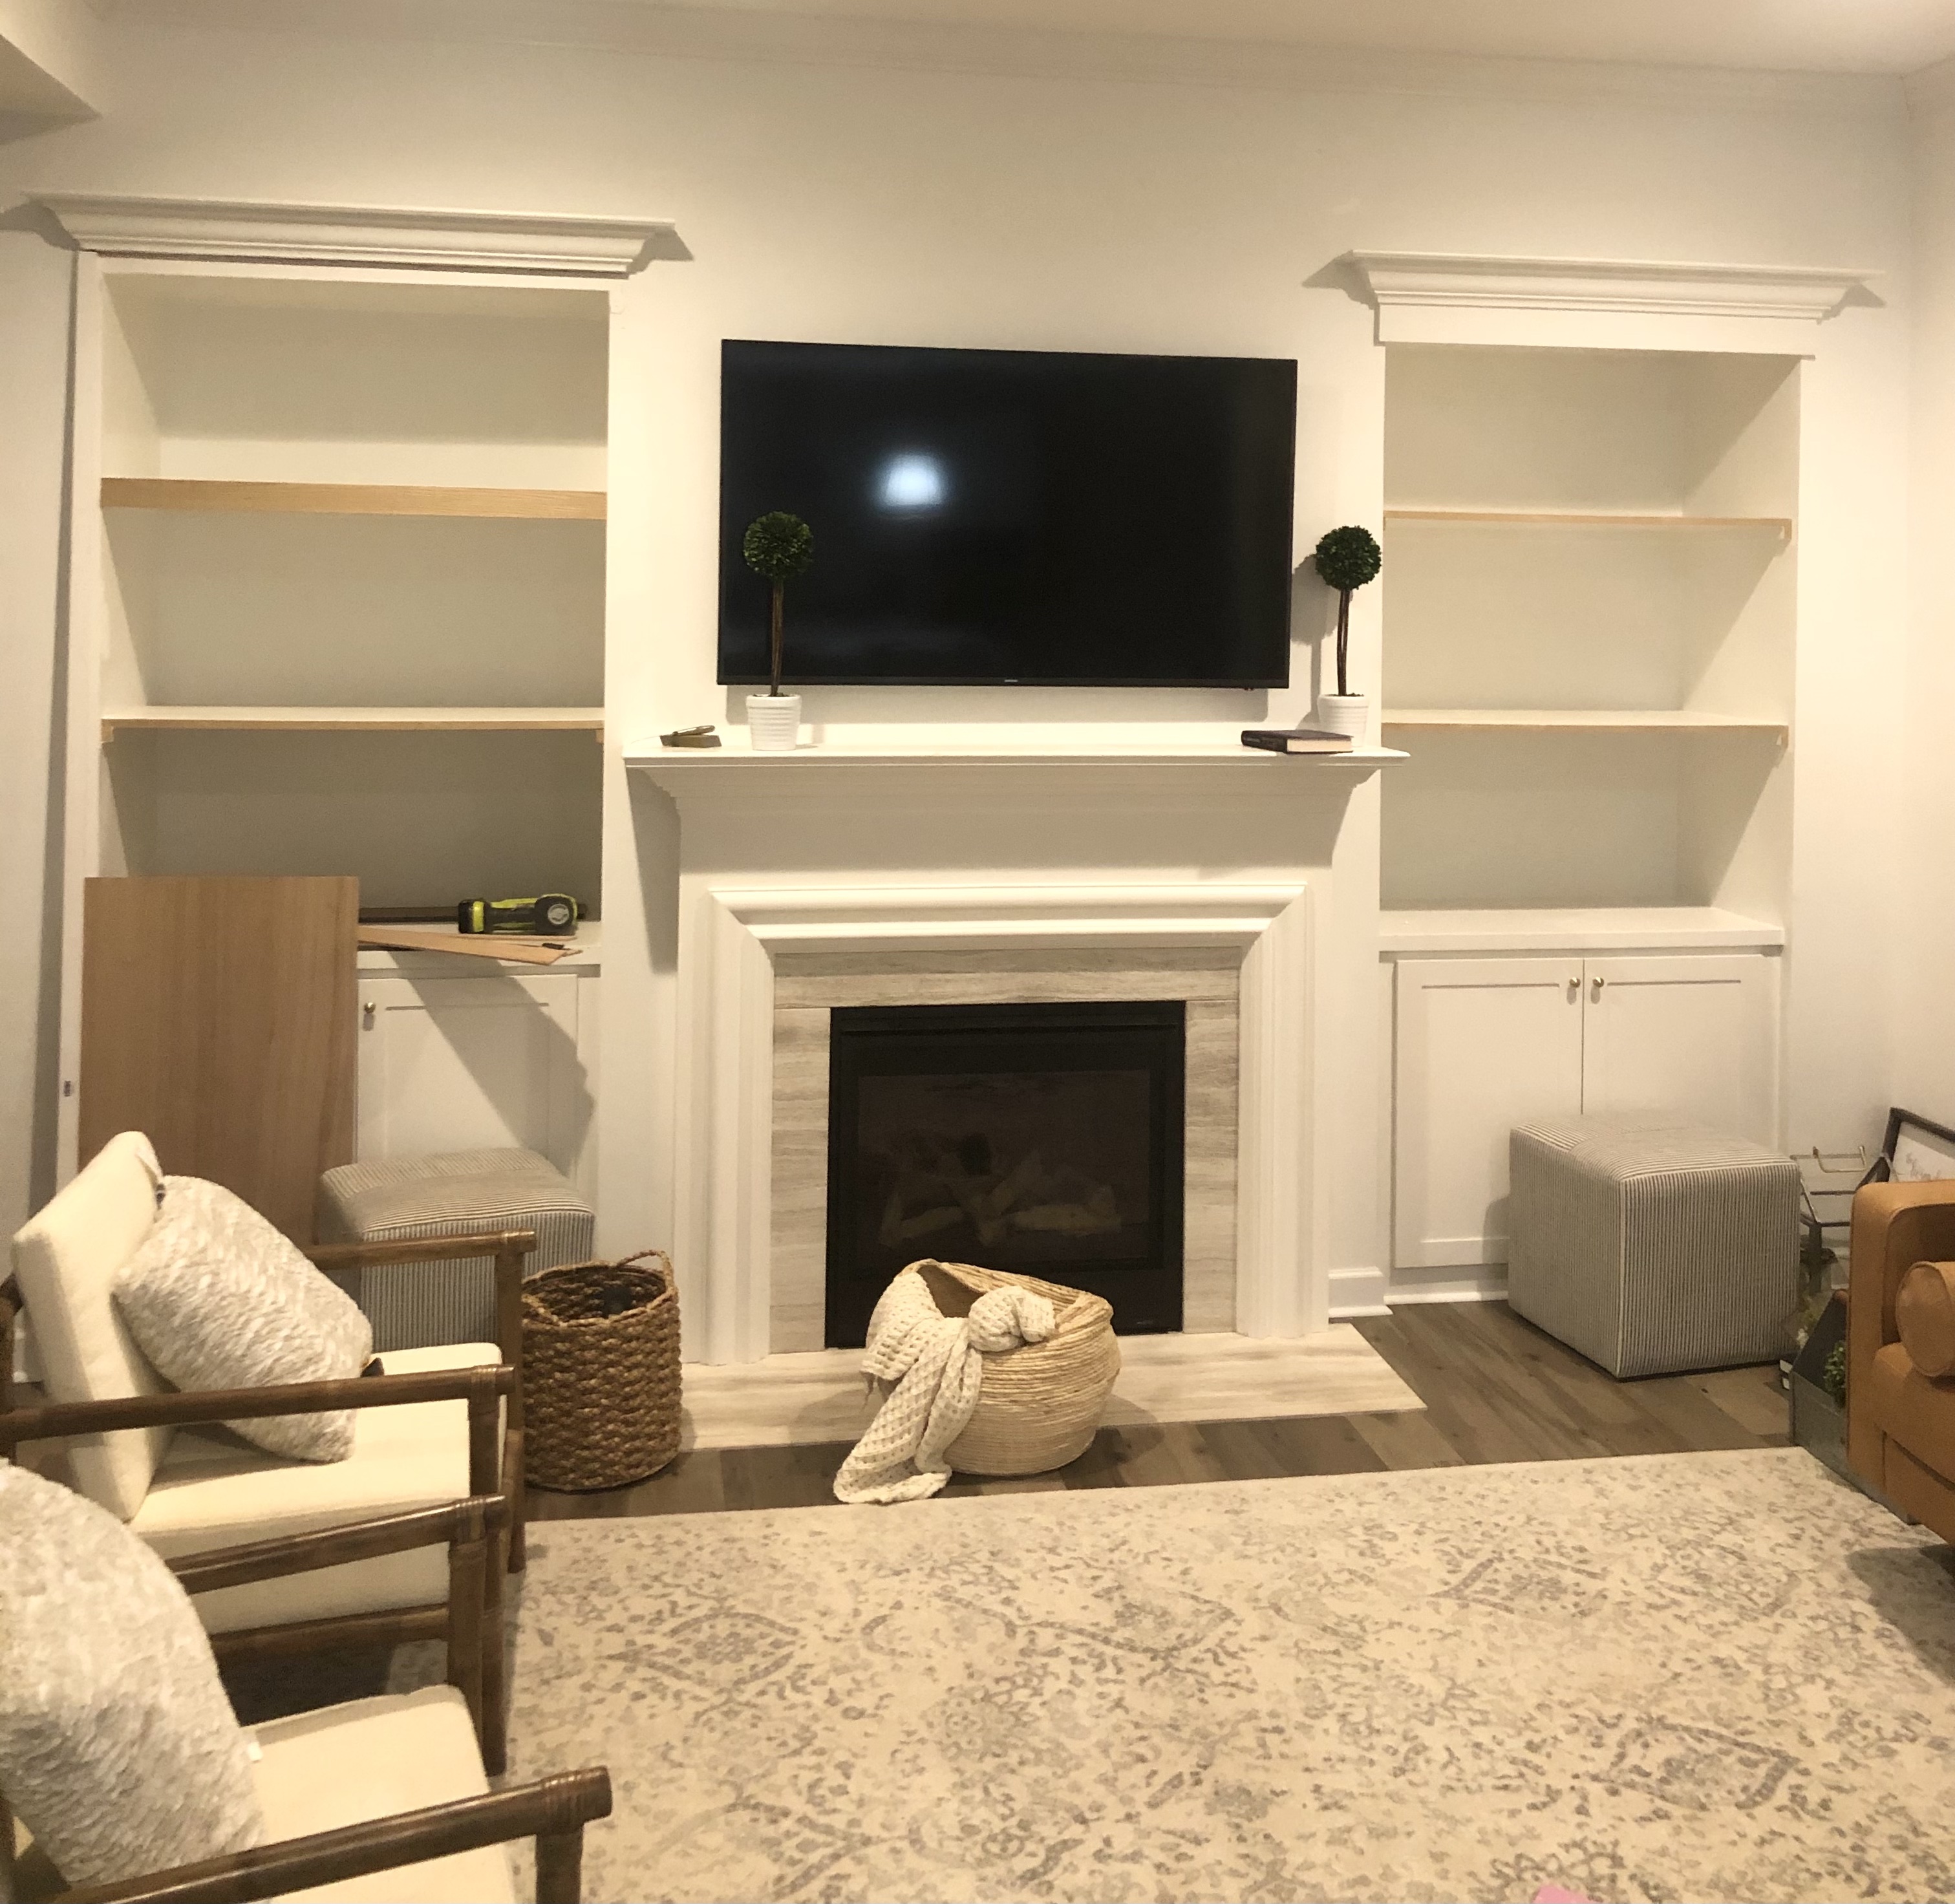
- Fill the nail holes.
Lastly, use colored wood filler that matches your stain to fill the nail holes. I also put a thin layer of Polyurethane on them. This can effect the stain color so just be aware of that and spot check it before doing the whole thing.
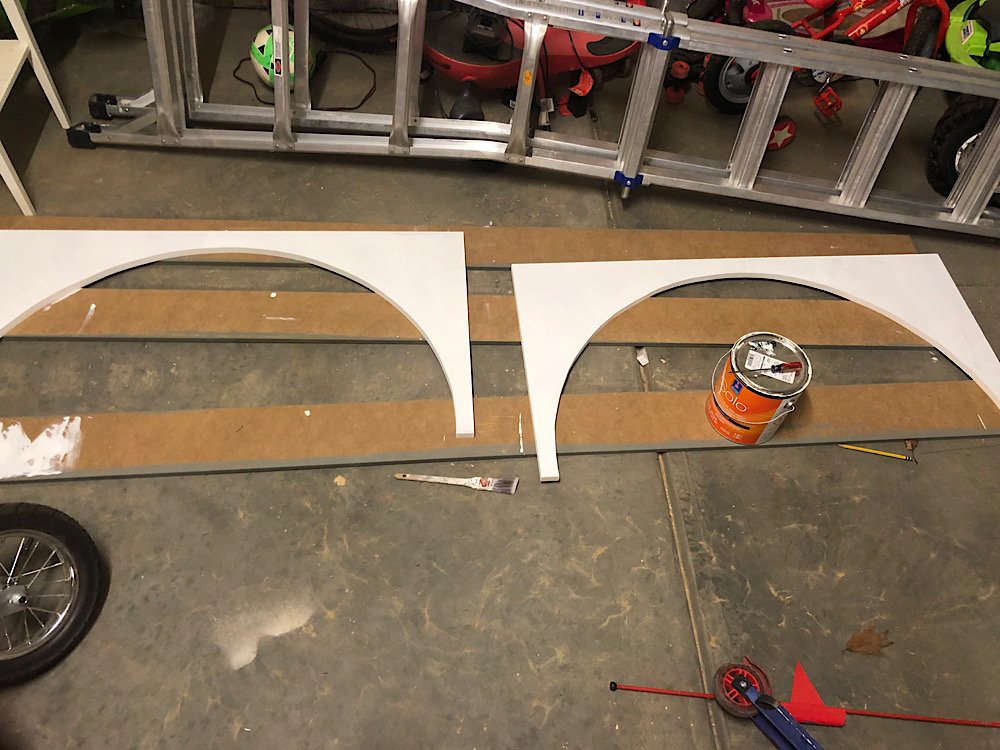
- Now, Lets make the arch!
First, you need a pencil, thumbtack and string to draw an arch on your 2ftx4ft board. At the bottom of each side, you will want the wood to be 1.5 inches so it will match up with the trim pieces.
- Cut the arch out with a jigsaw!
This is probably the best part of the project. Seeing the arch come to life. Use clamps to hold the MDF down securely.
- Sand the edges that you cut to make them really smooth
- Prime and paint the arch.
If you prefer, you can do this post installation. I like doing it before and then touching up and doing one thin coat after installation.
- Install!
Next, use 1.5 inch nails and a little liquid nails on the back. Find studs you are able to nail into.
- Add 1×2 Trim
Now, we still need the frame to go down to the trim. So next you are going to add the 1×2 pieces to match up with the bottom sides of the arch…to make it look like one continuous piece. Cut down the 1×2 to the correct height and then install.
- Fill nail holes and seams
Next, use wood filler on nail holes and seams of the arch and 1x2s. Most importantly, over fill it and then sand it down. This will result in a seamless look.
- Sand the filled holes and seams.
Sand down to make
- Caulk all the edges.
Now, caulk all the edges of the shelves, arch and trim.
- Paint!
Finally, you paint!
This really was such a fun project with minimal time and saw cuts required but BIG results!
Click here to see the Best Tools for DIY


2 Comments
Pingback:
Pingback: