Live Edge Sofa Table- Designer Look, Do it Yourself Price
DIY Live Edge Sofa table- perfect for oversized Sofas
I’m certain this live edge sofa table is the easiest furniture piece I will ever build. All you need is a couple of pieces of wood, some brackets, screws and voila! The sofa in our family room is oversized and super comfy. But when it comes to a sofa table to go with it, most of the options looked way to small and the ones that didn’t were far out of my budget.
If you are not a DIYer but want to get the same look, this table from Six Penny is very similar. There is also a similar one at Crate and Barrell.
For months, the live edges at Lowes kept catching my eye and finally I realized it would be a perfect DIY build with lots of natural character. Overall, the total cost for this table was around $200. You could use the same simple design with normal pieces of lumber if you are on a tight budget, but you will lose the beautiful character of the live edge.
Supplies for a DIY Live Edge Sofa Table
2- Live edge pieces, one a few inches wider than the other (Mine are 18inches wide and 16 inches wide)
8- 90 degree brackets These are the brackets I used.
Wood Screws (1 or 1 1/4 inch…depending on the thickness of your wood)
Drill
Stain (I used a white wash stain first, and then a few coats of walnut gel stain on top of that)
Shellac
Lacquer (Satin, not gloss)
Step by Step Directions
- Cut down the wider live edge to your desired size for the tabletop. I wanted mine long so I didn’t cut it down at all. It is 6 ft.
- Cut the other live edge piece into two equal, 28.5 inch tall pieces for the legs. If you don’t have a saw, have them do this for you at Lowes/HomeDepot when you buy it!
- Chip off the bark on the edges. Use a painters tool and hammer to do this easily.
- Sand, sand and sand some more. Use an orbital sander and start with 80 grit- 120 grit- them 180 grit sandpaper. Sand slow and evenly.
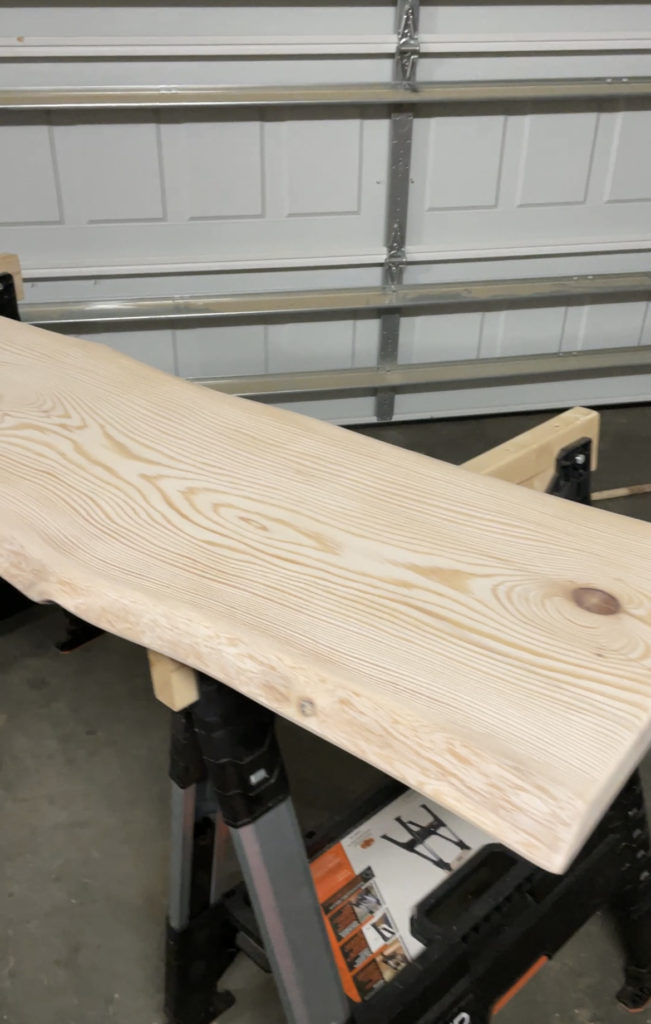
- Prestain and Stain. I did a whitewash stain first to cut the red tones, let it dry and then a couple of coats of walnut gel stain (applied like a regular stain). My live edge is made of fir. The more you sand fir the less it takes stain…which is why I opted to use the gel stain.
- Apply shellac with light sanding in-between coats.
- Now, apply lacquer.
- Finally, turn the table top over on its back. First, screw the brackets to the legs using wood screws. Then screw the legs to the table top using brackets and wood screws. These are the brackets I used.
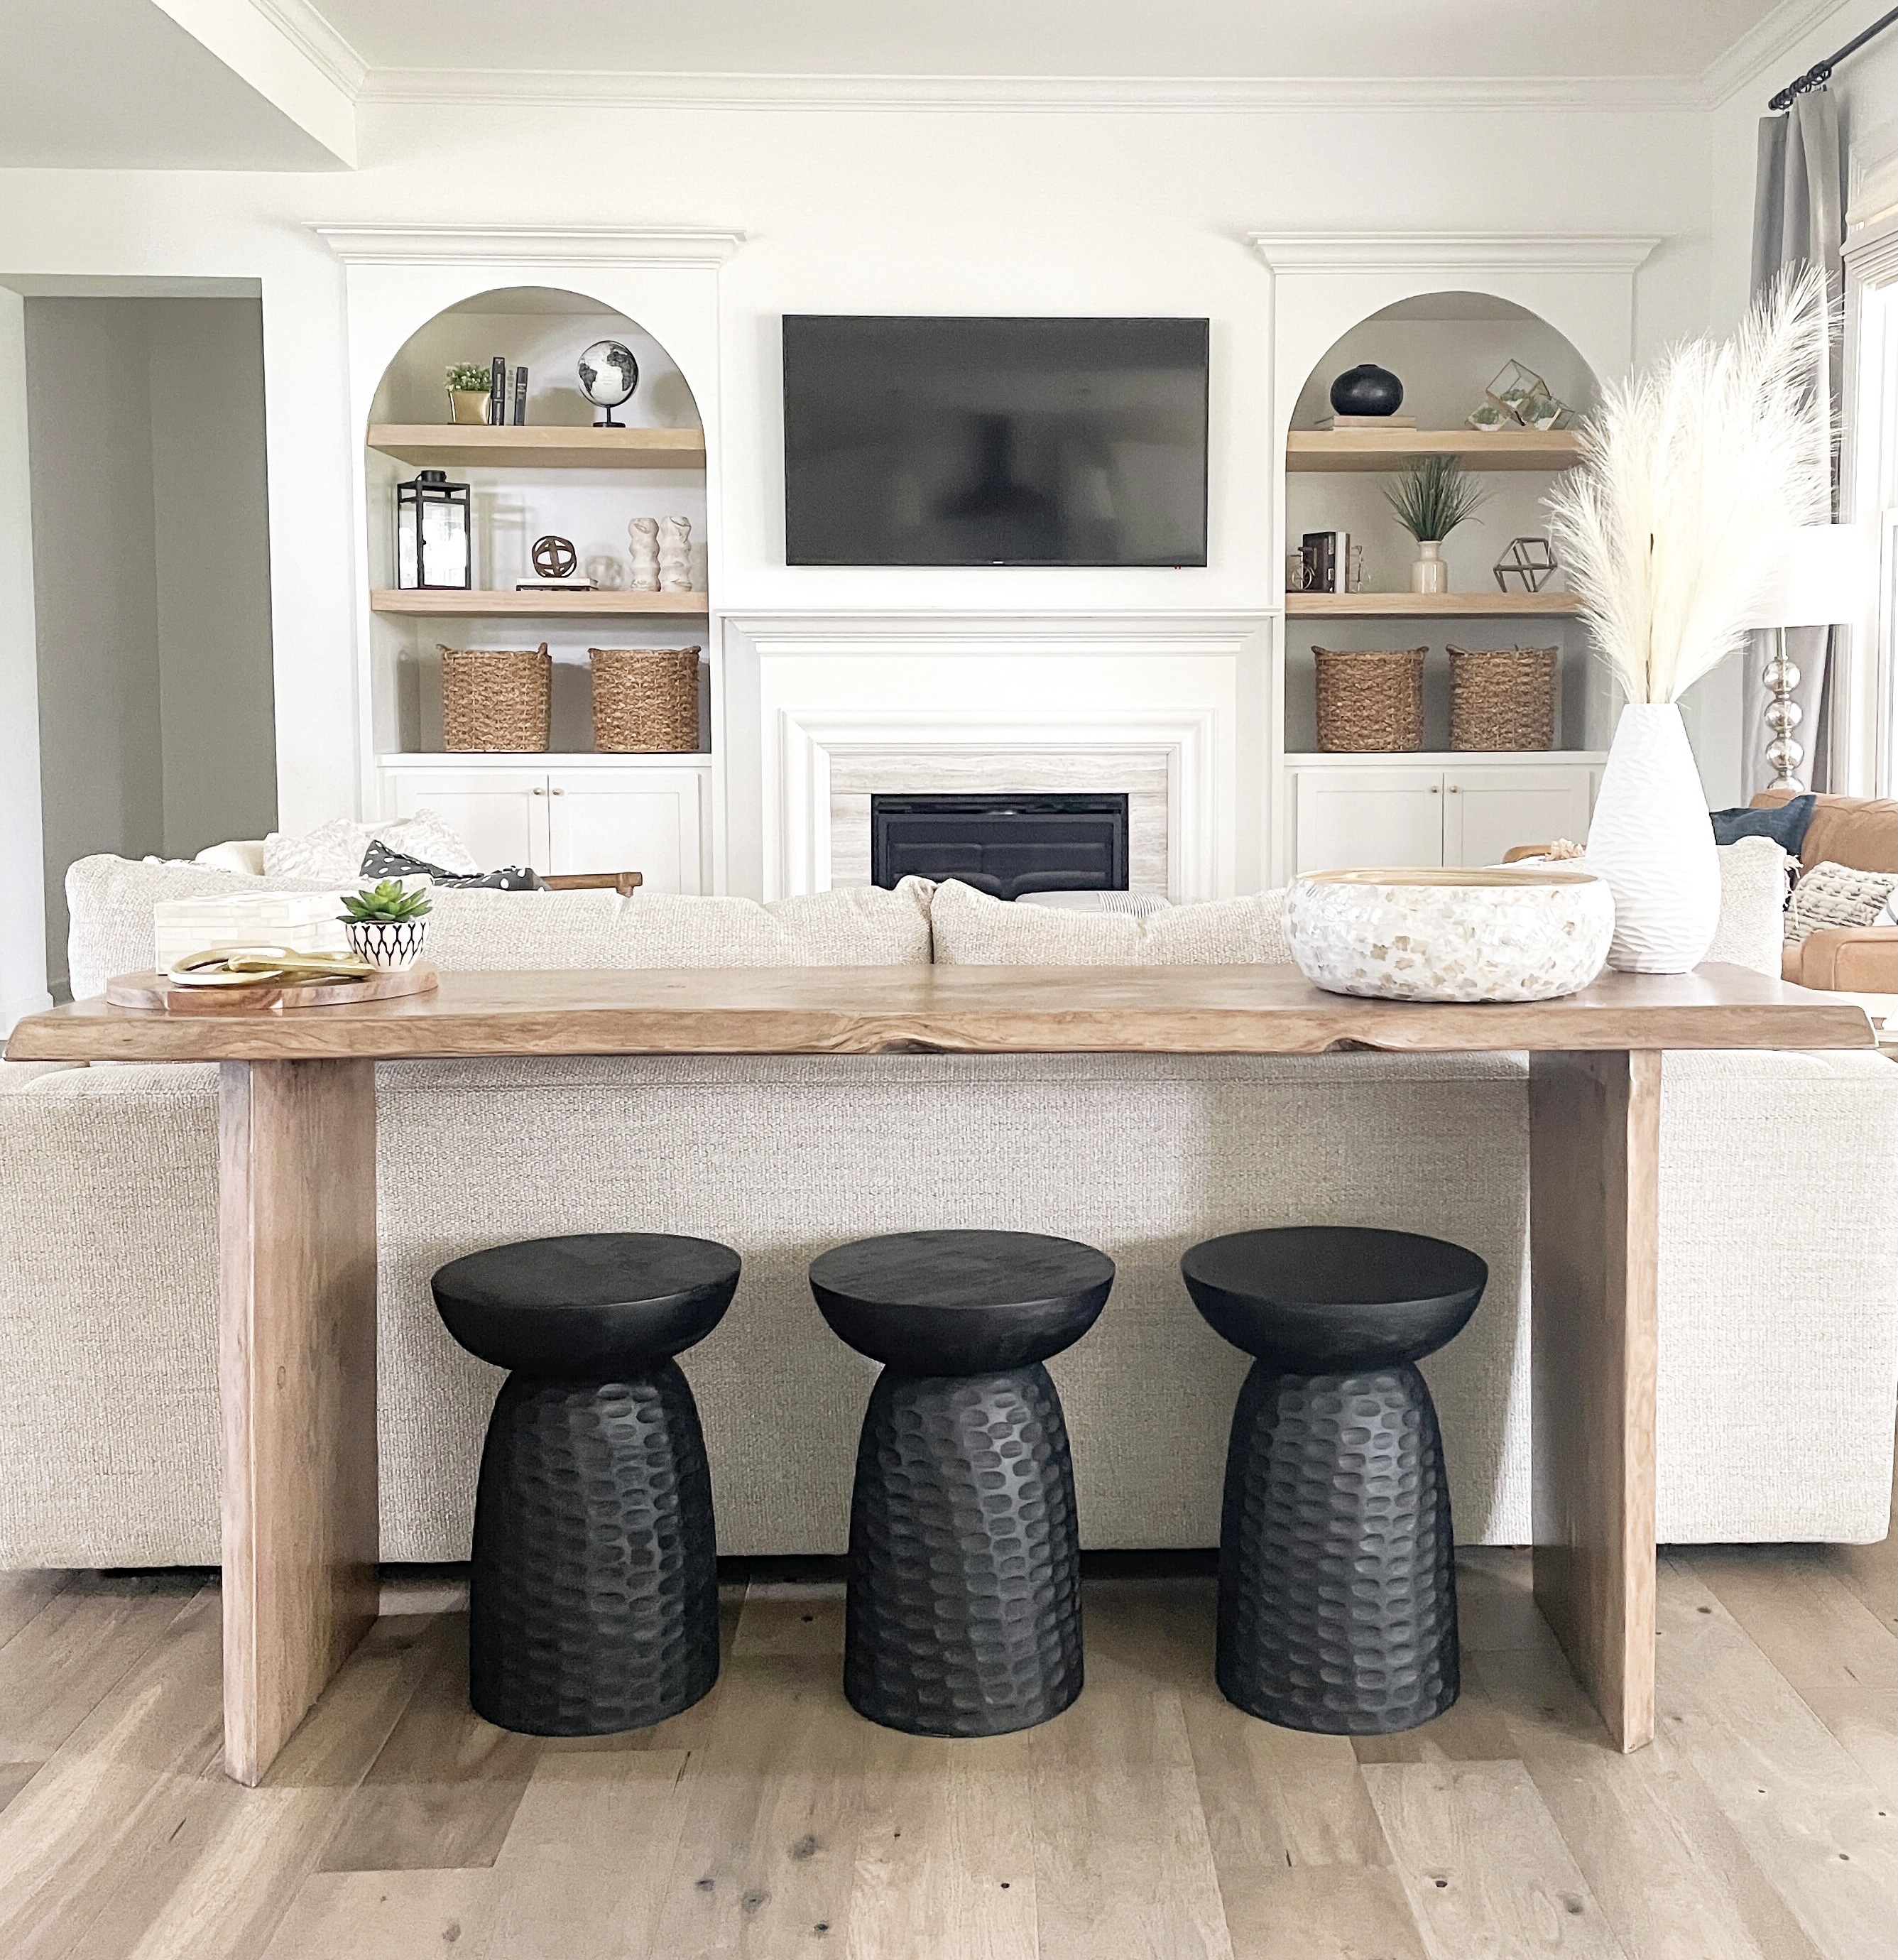
The Results
It took a little trial and error with the stain color and bracket size, but the end result turned out better than I pictured. It is super sturdy and multifunctional. Its pretty, plus I added these ottomans and it serves as my kids little snack bar. We all love it!
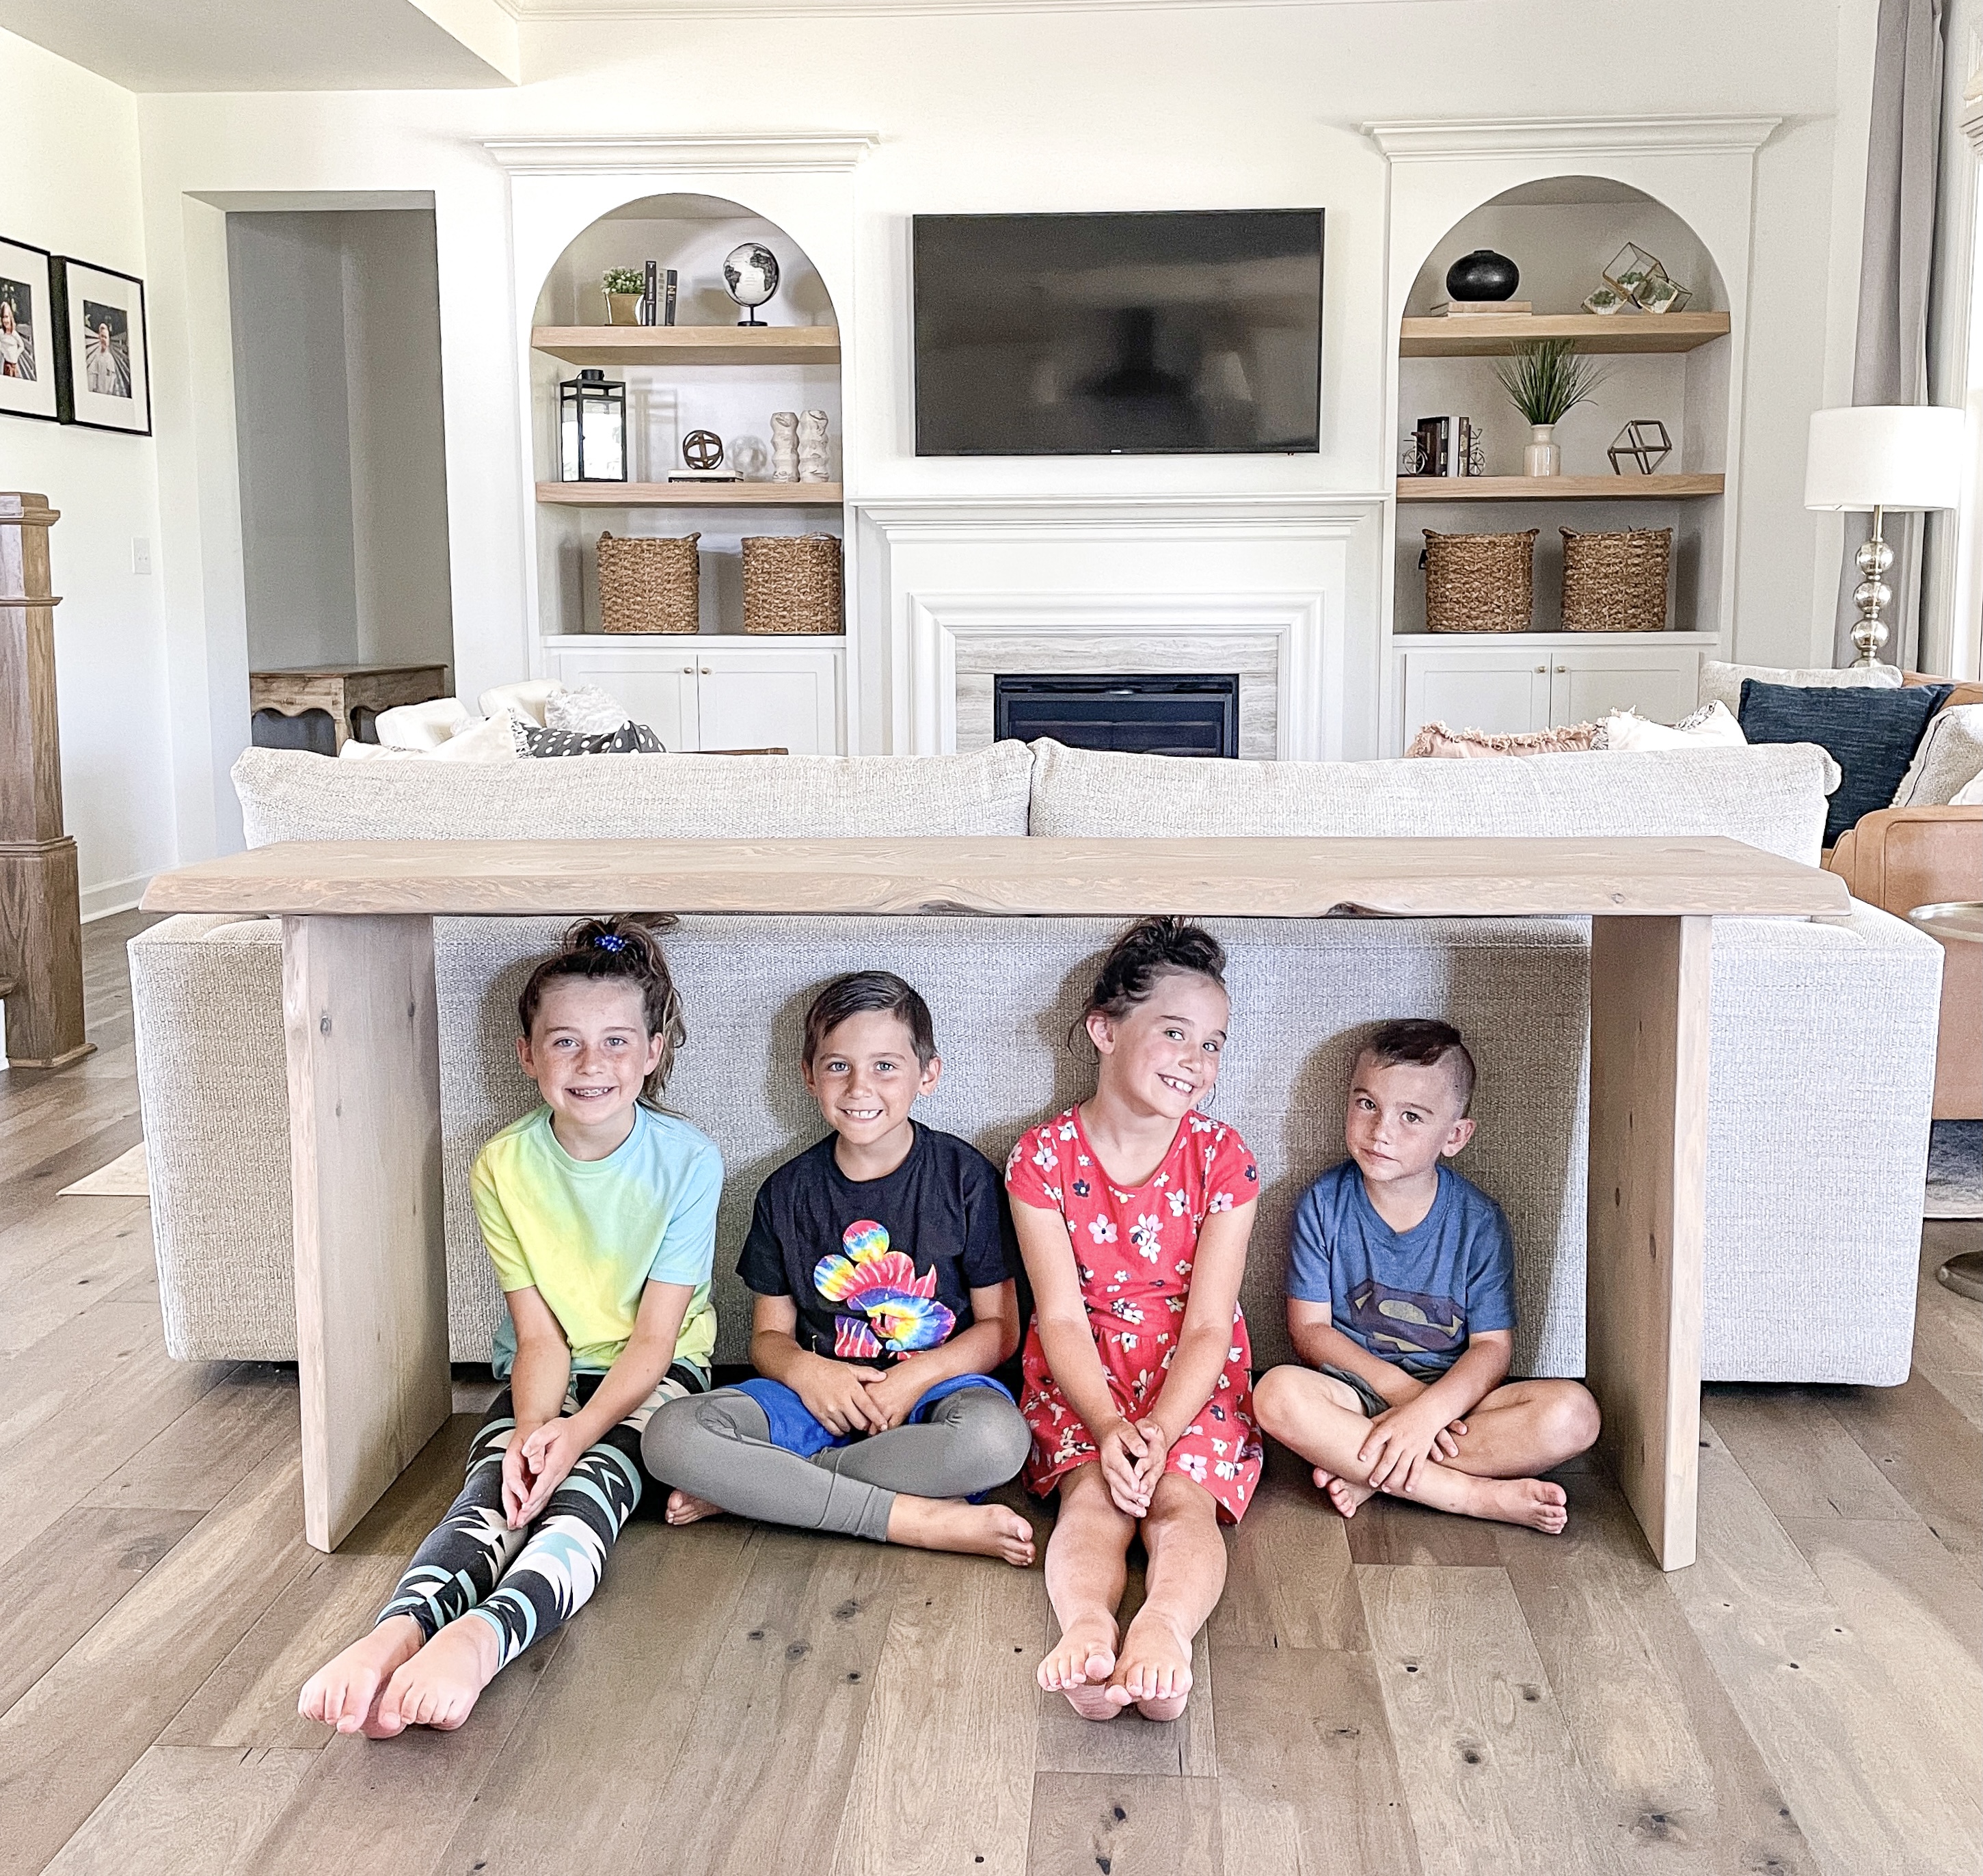

Check out the DIY arched built ins post for details on the family room in the background!