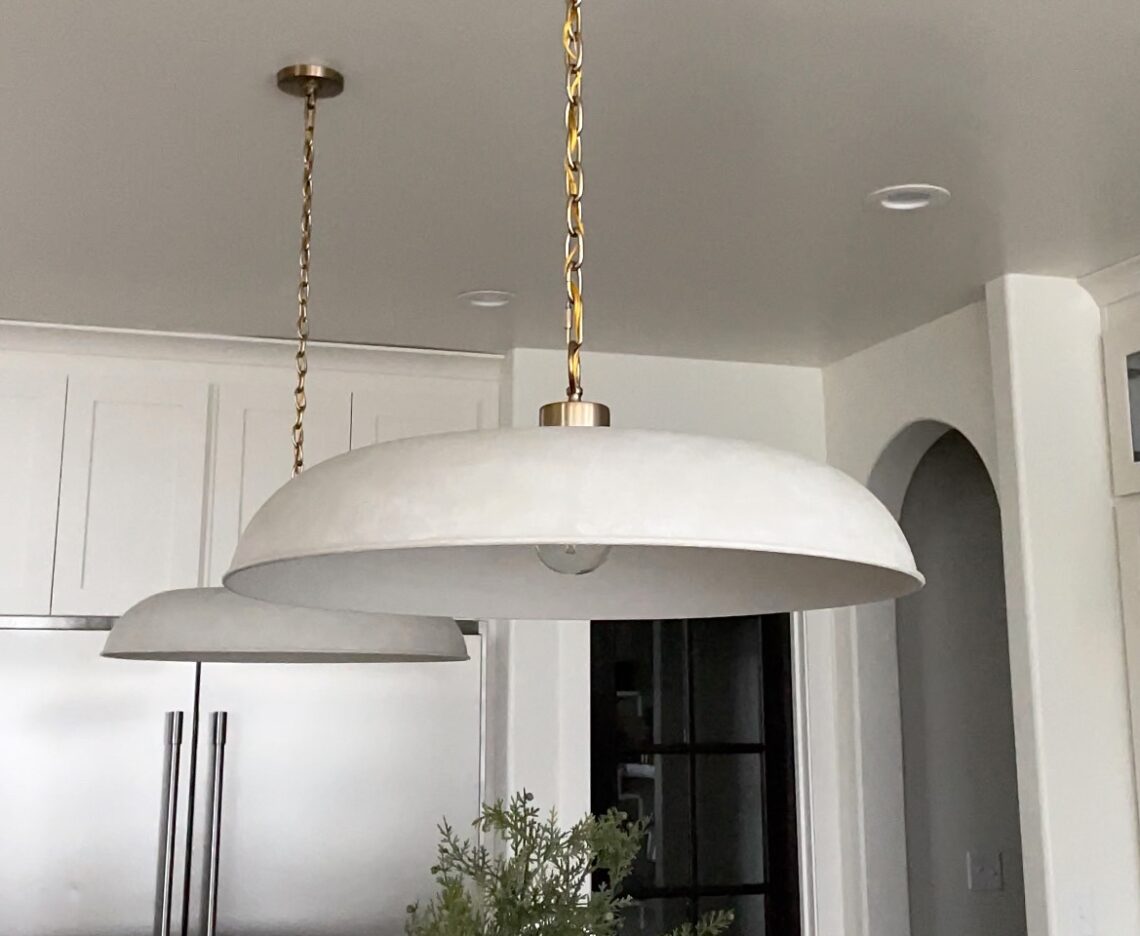
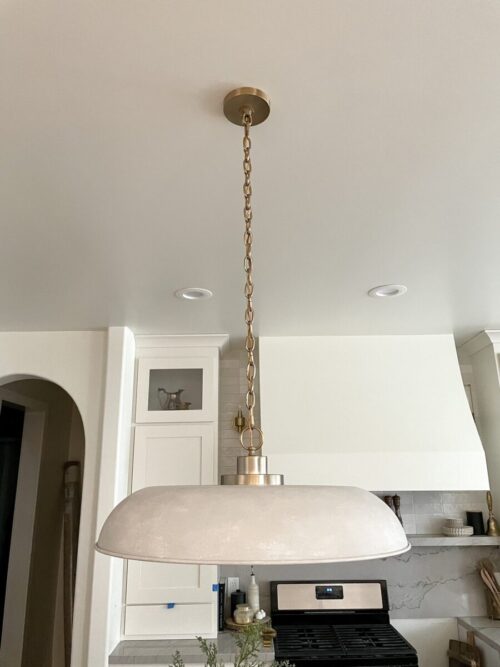
My Chalk Paint Pendant Lights – Faux Stone Finish for a Designer Look
I was so nervous to use chalk paint on brand new lights, but I’m so glad I did! We didn’t upgrade any of the lighting in our new build because I wanted to be able to choose from endless options and save some money. In the shopping process I fell in love with these designer lights that are $1300 each. Not.going.to.happen. So I opted for some other beautiful lights that were a similar shape, and then painted them to look like stone.
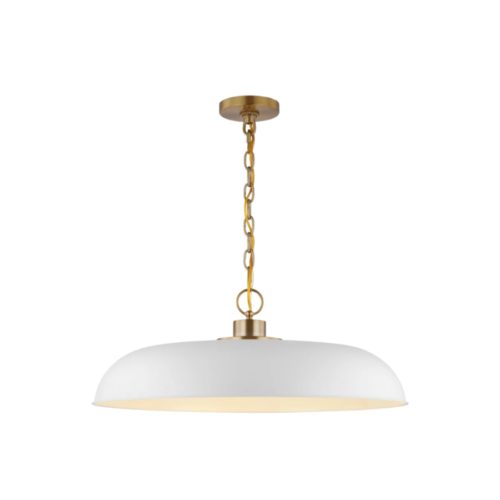
Click Here to Shop Pendant Light
Creating a Faux Stone Finish with Chalk Paint
It’s kind of a magical paint because it adheres really well and can be used on almost any surface. After doing some research and watching endless You Tube videos, I decided on this technique by Kacha. I made a few modifications and got to work. Here are the steps I followed:
Supplies
- Pendant light shade or something else you want to look like stone.
- Two colors of chalk paint
- chalk paint wax or polyurethane
- Chalk paint brushes
- 2 sponges
Directions-
Paint: Behr Chalk paint tinted to Perfect Taupe & Deco Art Primitive.
- Quick Sand for better adhesion. Wipe Clean.
- Tap on dark paint color with a chalk paint brush.
- Immediatly go back over It with thick strokes of paint, all over.
- Tap to blend in any thick spots. The more you leave, the stronger your texture will end up.
- Let dry and then finish with wax or polyurethane. I used chalk paint wax. If you are painting a high traffic piece, use polyurethane.
- Let dry completely and then use a wet sponge to apply the lighter color, gently tapping it on.
- Use a clean, wet sponge to rub in all the paint.
- Lightly apply small amounts of the dark paint color, dry brushing it over the top .
Finishing the inside of the light
I did this on the inside of the light, but wanted it to appear lighter. These are the steps I followed for the bottom side of the light.
- Tap on the light paint color. I did medium coverage, and left some spots with white showing.
- Let dry and then lighting sponge on the light color.
- Rub it in with a wet, clean sponge.
- Finish with wax or poly.
I am so glad I tried this technique and love that it elevated my already beautiful lights. I hope it works well for you, too!
If you love a high end look, for a fraction of the price, you may also want to check out my live edge sofa table build.