Picture Frame Molding – 4 Tips for Amazing Design Results
Tip #1: Find Inspiration Photos of Picture Frame Molding You Love
This is probably the easiest tip when designing picture frame molding, because you then have a photo to mimic. I looked at my entryway walls for almost a year when this photo popped up on my Instagram feed by a local Charlotte designer and I loved it. Afterwards, it became my inspiration to start. The layout was very similar to my entryway and I loved the three boxes above the door. So that’s what I started with.
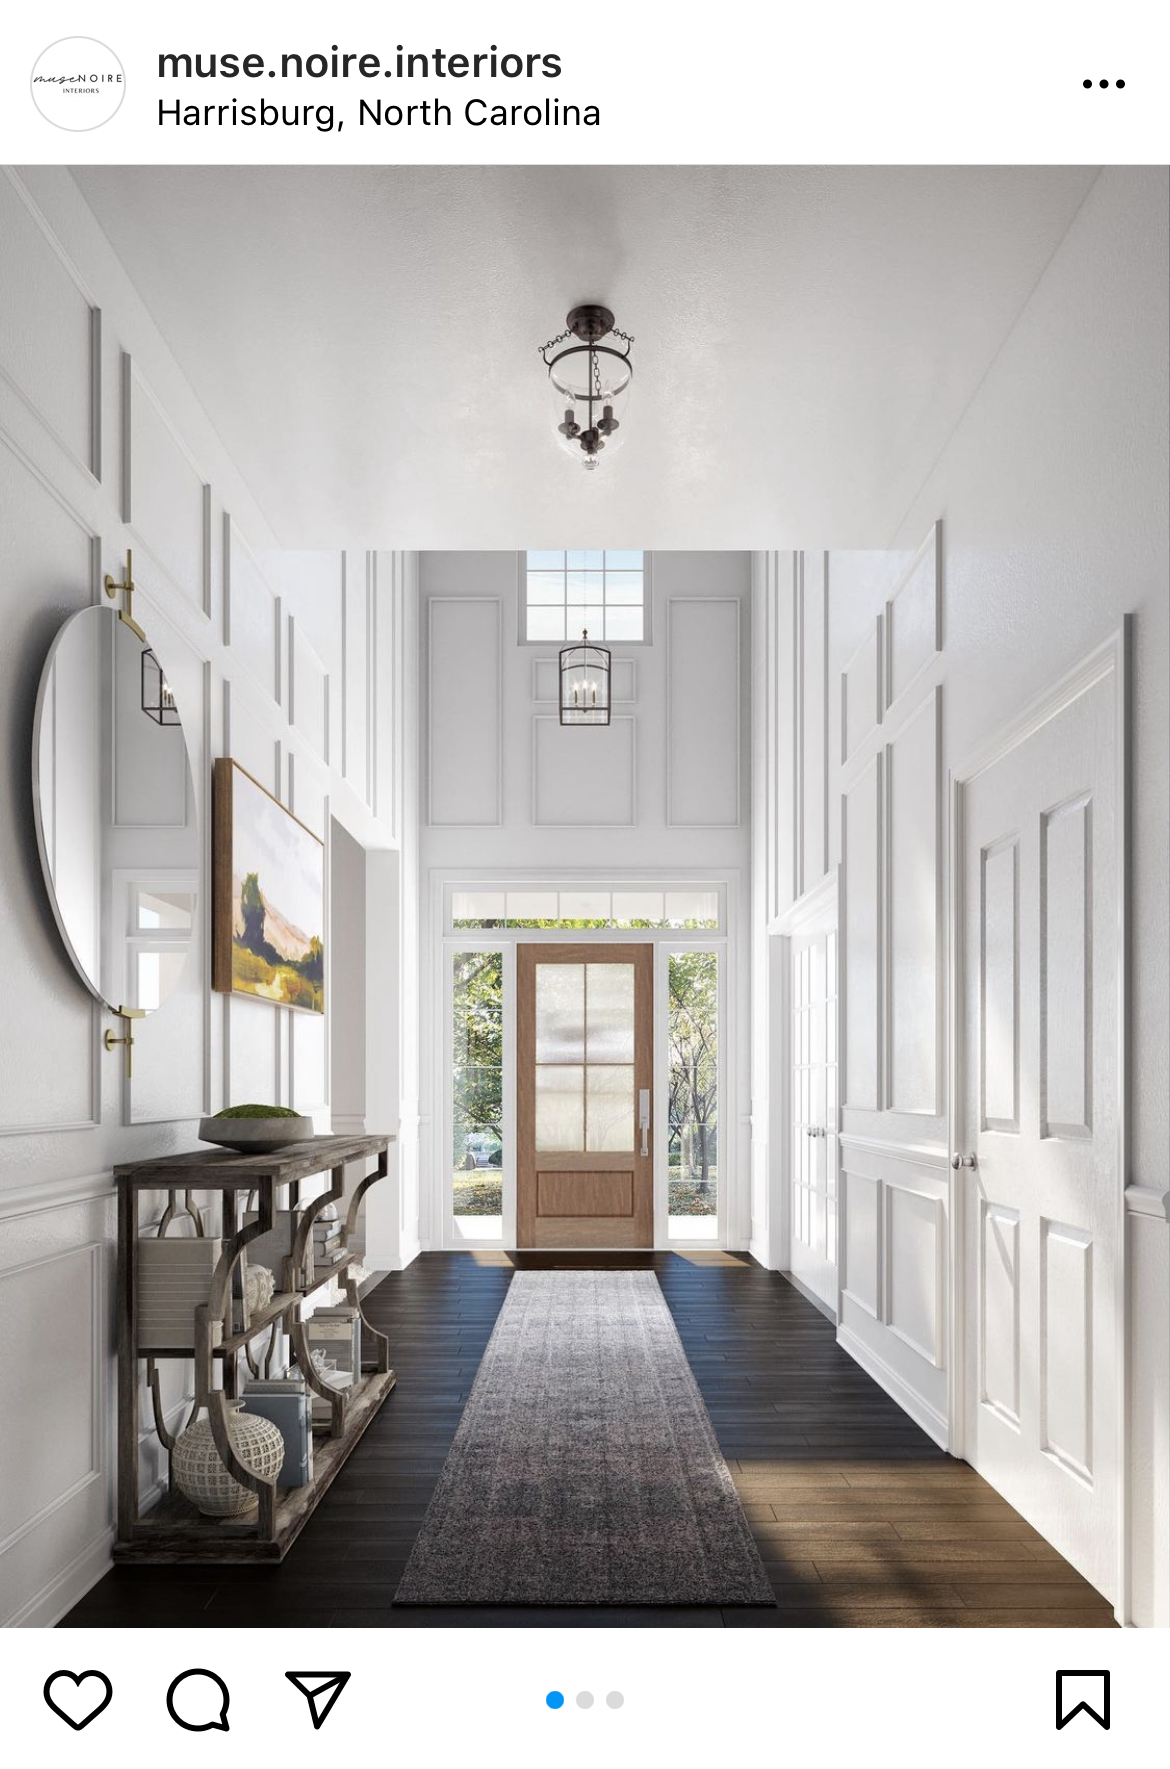
Via Instagram Muse Nore Interiors
Tip #2: Follow the existing “lines” in your home
Your home will have various elements to it that are already creating lines in your room. Usually this will be doorways, walkways, and windows. Choosing some of these existing lines to follow with your picture molding will create cohesive patterns in the space.
Below you can see that I chose to follow the lines of the walkways on both sides of our hallway. I used this measurement as somewhere to start on these walls and worked the other measurements around it.
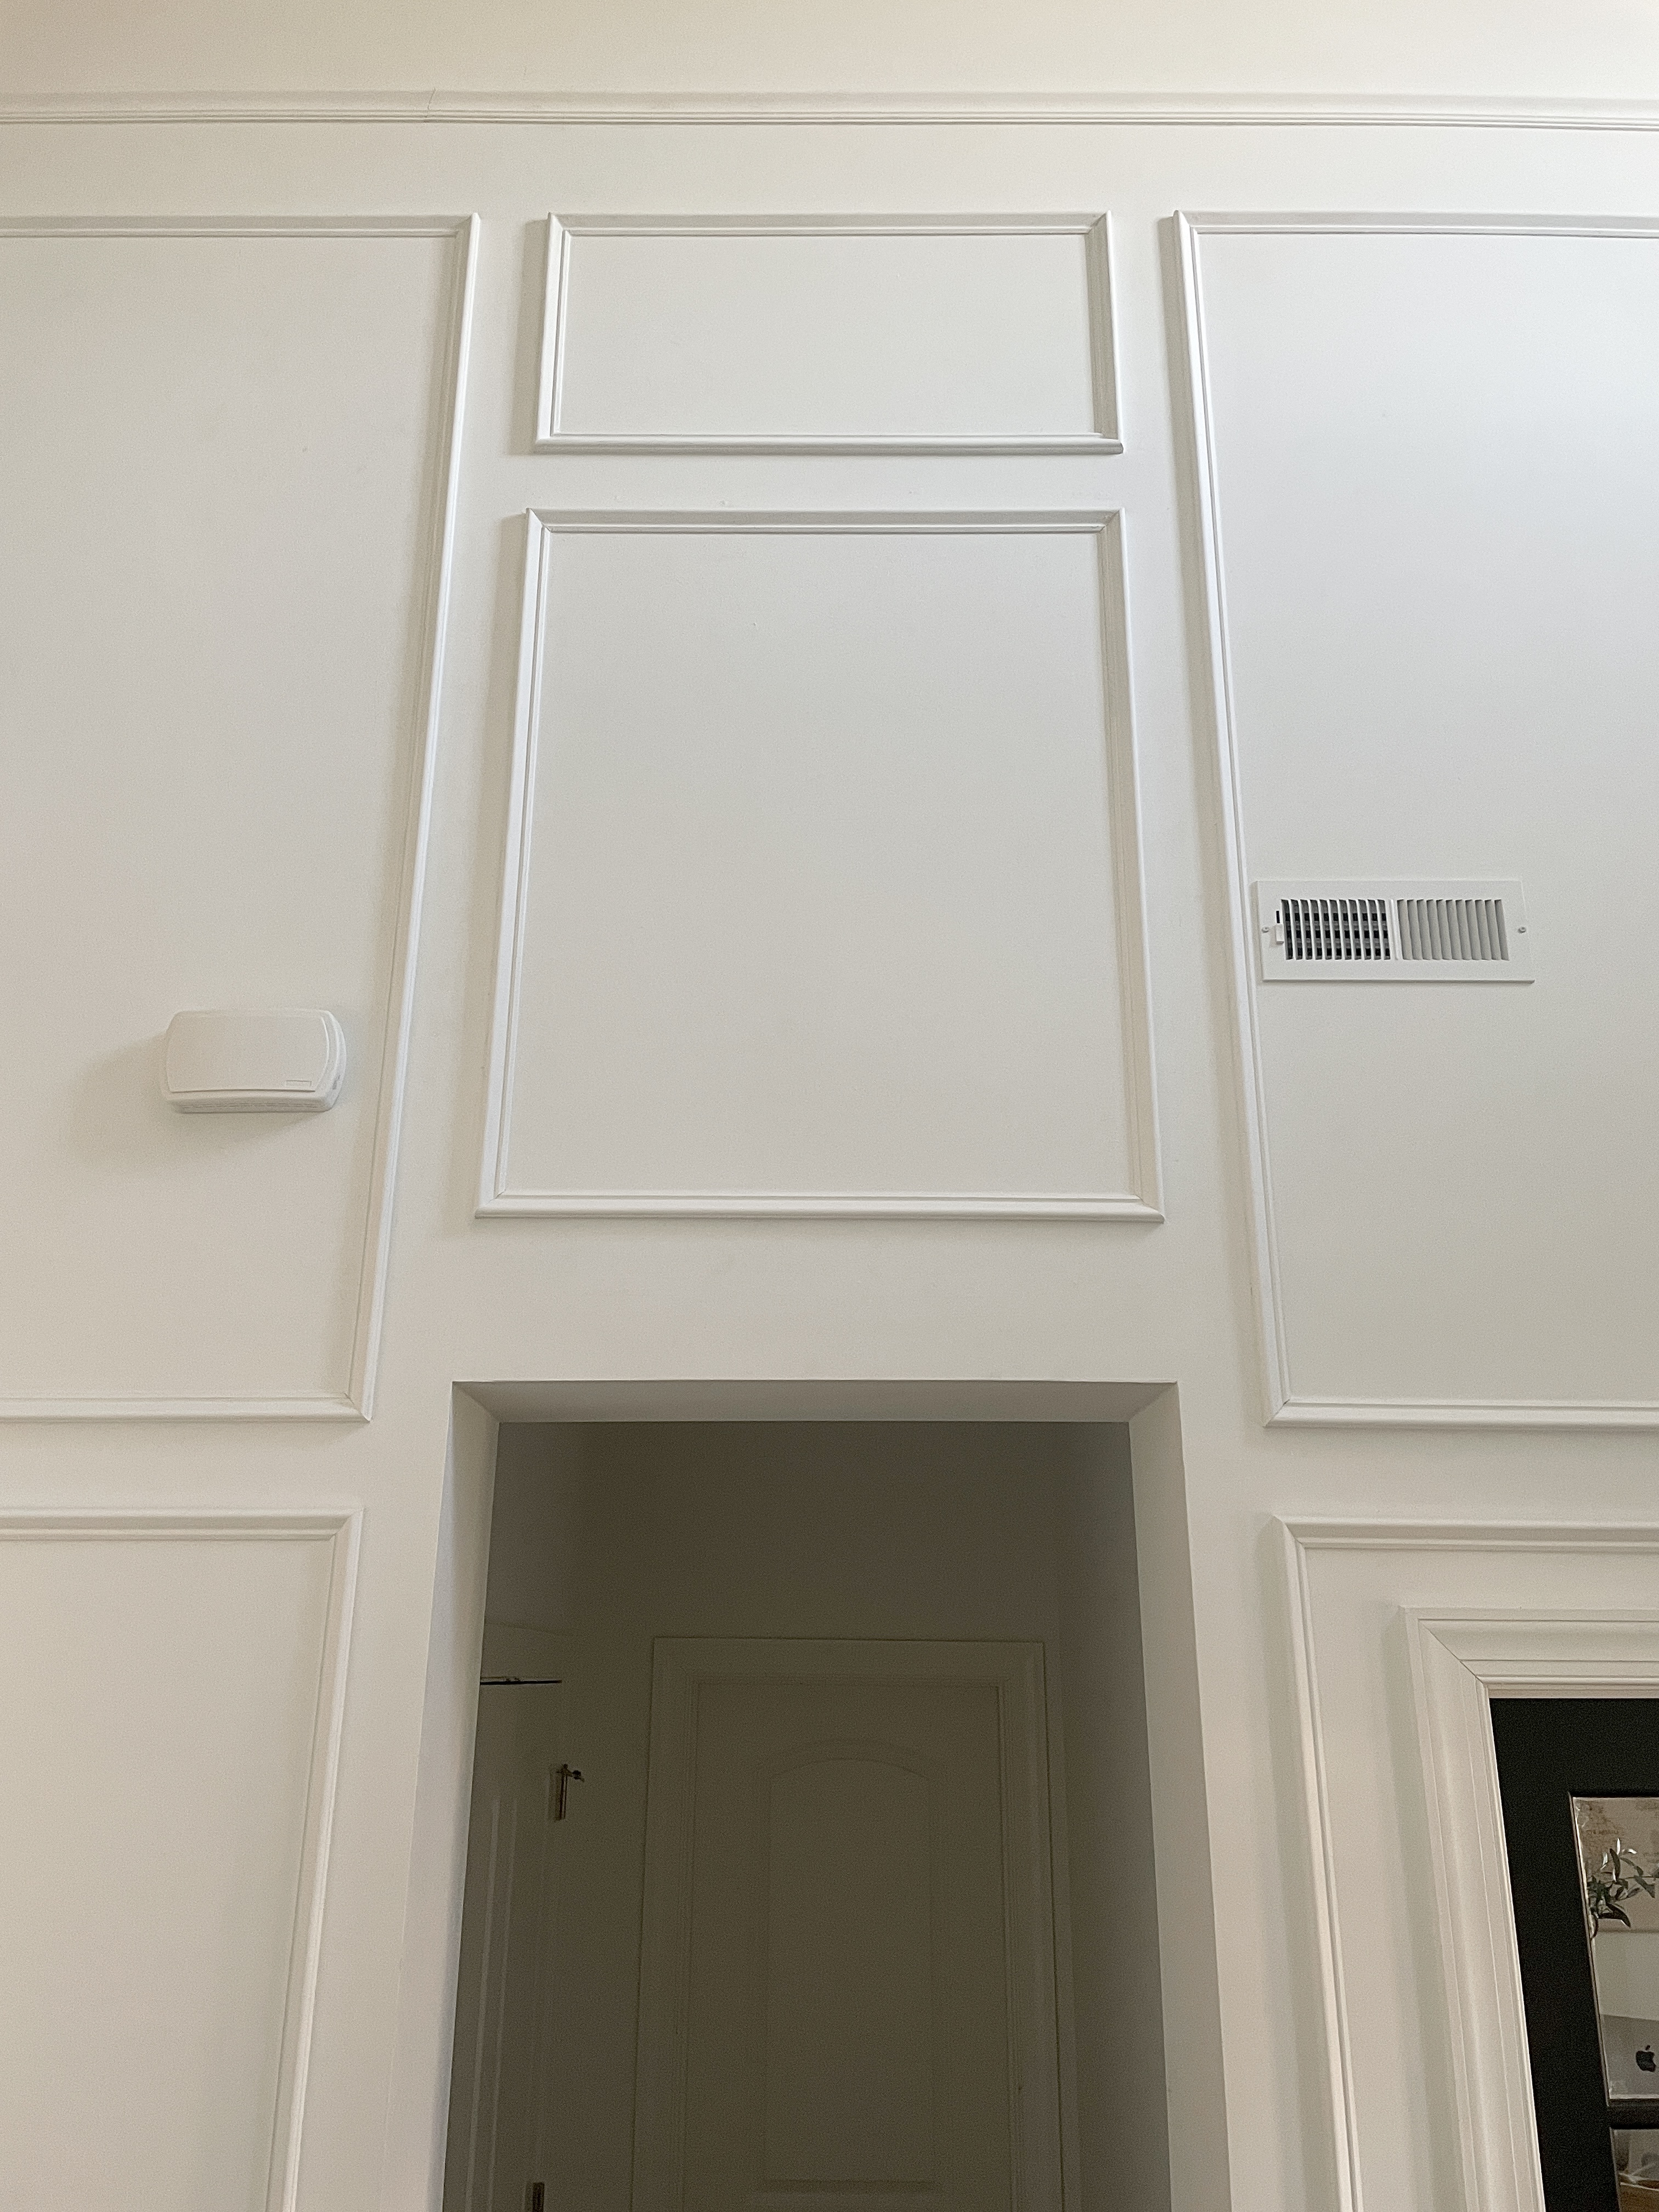
Tip #3: Keep the spacing consistent. Plan for furniture, wall hangings, outlets, and switches.
The spacing won’t always be perfectly consistent, but use this as a general rule to pick measurements for your spacing and keep them consistent as much as possible.
My measurement between boxes was 4 inches and that stayed very consistent.
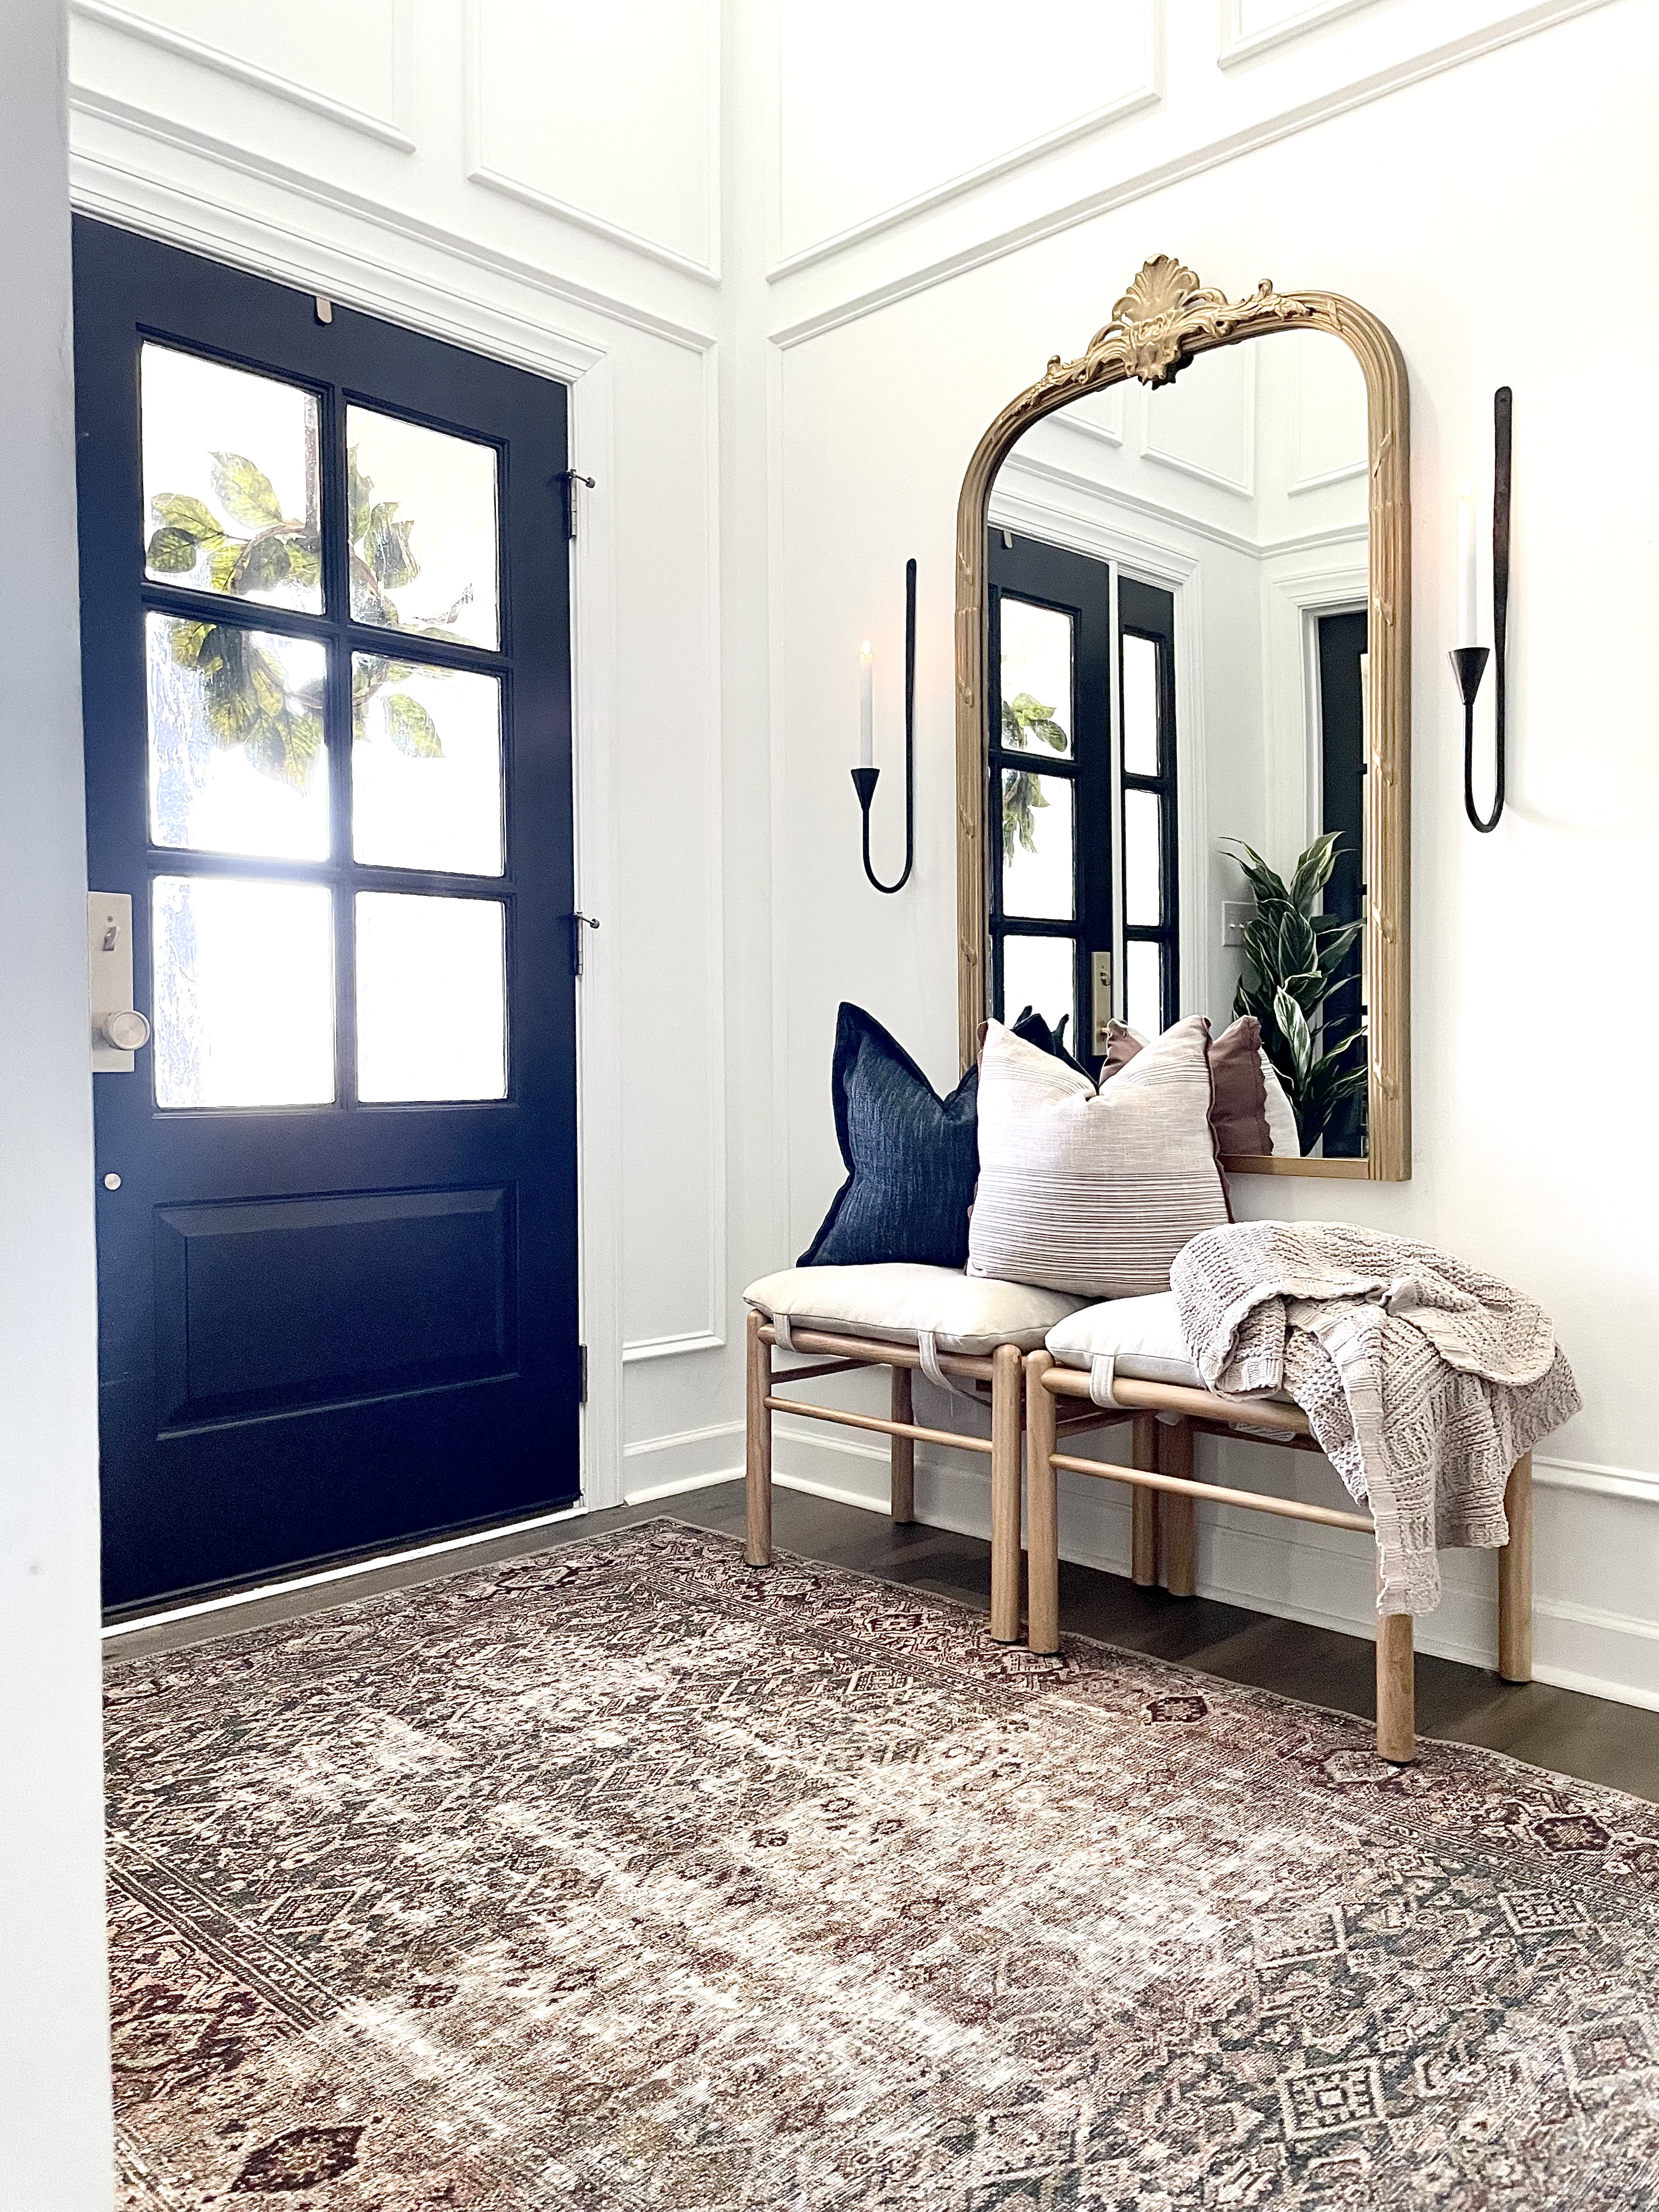
It’s also important to think about furniture placement and any wall hangings you already know you will be using. In my entryway I knew I was going to hang this mirror so one of the reasons I did such large boxes on the bottom half of my walls is because of decorations and furniture I knew I would be using.
You will notice in my entryway, I did not take the molding the full height of the wall. There were multiple reasons for this, but in a nutshell, our walls are really tall. Going the full height to the ceiling would have cost a lot more money in materials, as well as equipment, as it would have required renting scaffolding.
Instead, I opted to a horizontal chair rail, 7 inches above the top boxes.
Tip #4: Draw the Picture Frame Molding Design out or Tape it out
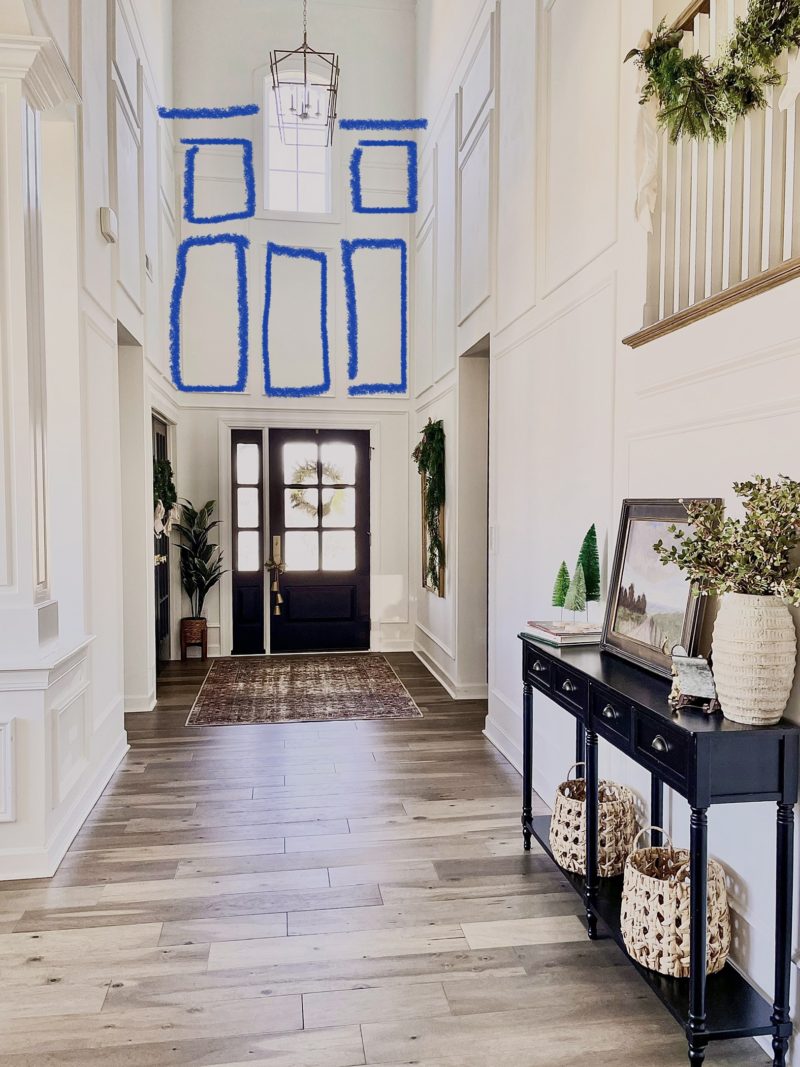
Once you feel like you have a good plan in mind, use a picture of the space to draw out the boxes on a program or even just in your photos. It will really help you know what design pattern you like the best.
After this you can use painters tape to physically tape out where your boxes will be on your walls to verify you like it. I did not tape out all of the boxes in my entryway but I did do some of them.
Here is one of the other design options I considered, drawn out really poorly right onto my photo with the markup tool. It was still so helpful in deciding a design and requires no extra app or tools.
Overall, it can be overwhelming to take on such a big project, but if you break it down and plan it out….and execute it in small doses, you can do it, and maybe even enjoy the process:)
New to home projects? Click Here to see the Best Tools for DIY

