Flip Furniture without stripping: The EASY way
Quick. Easy. Cheap. My favorite kind of furniture flip. Did you know you can refinish furniture without stripping it?
PROJECT LINKS:
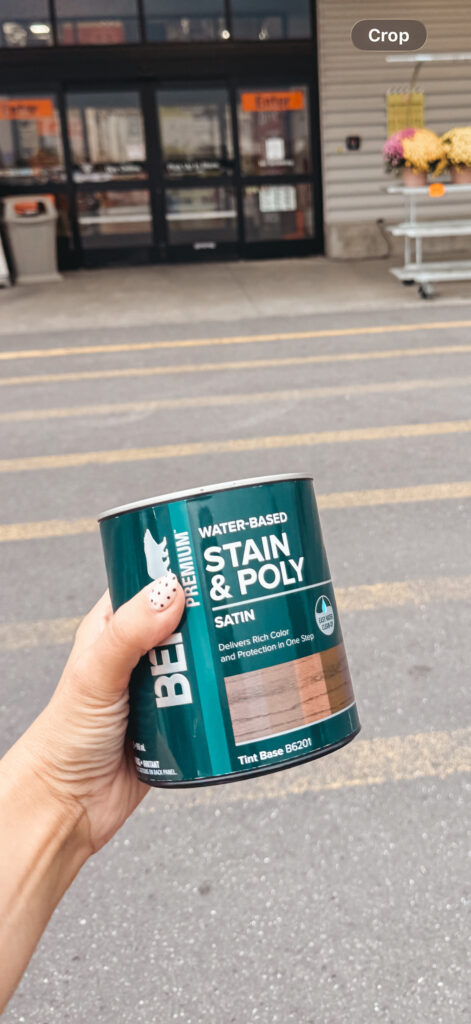
Behr Stain and Poly (Tinted to the color Cortado)
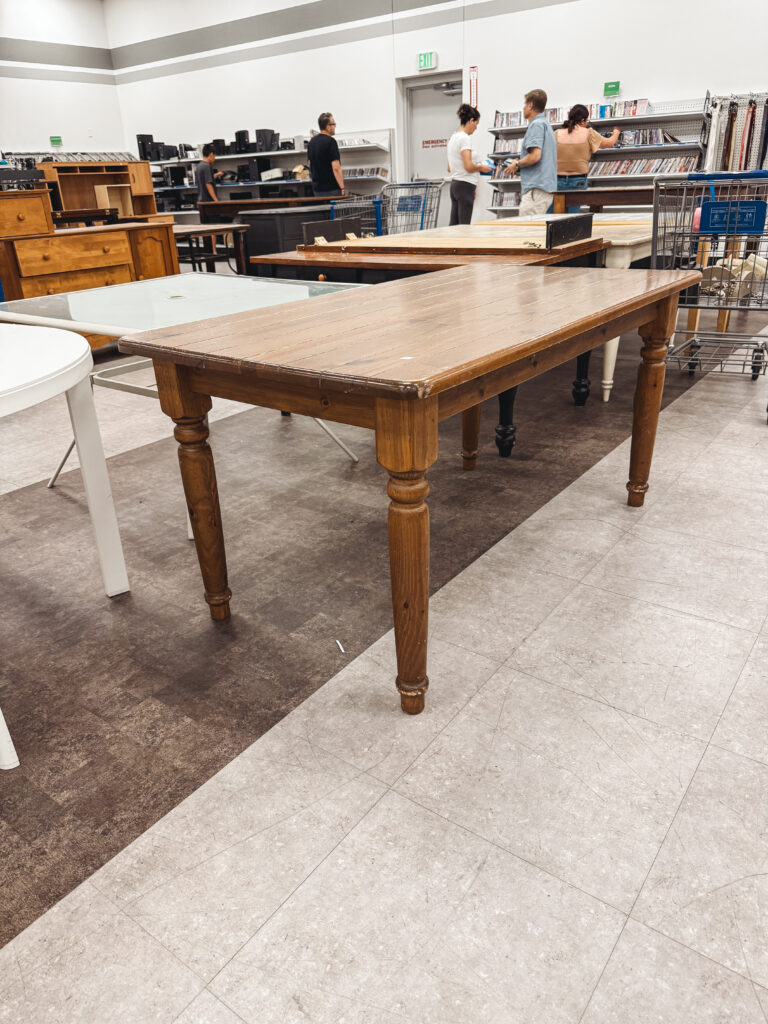
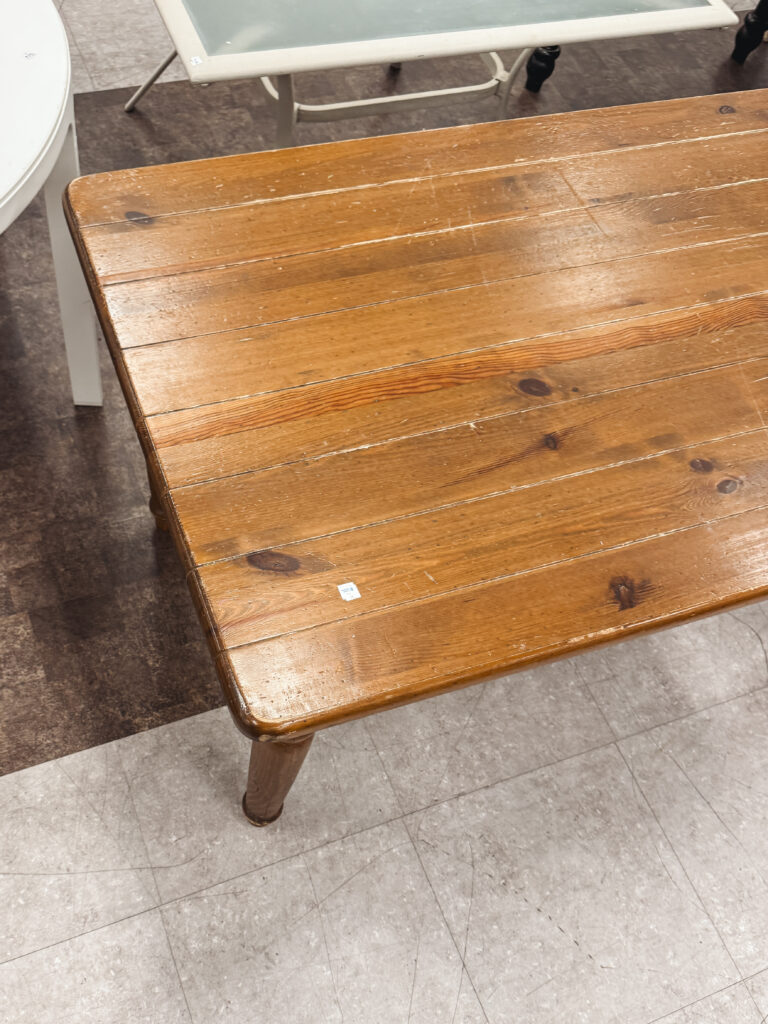
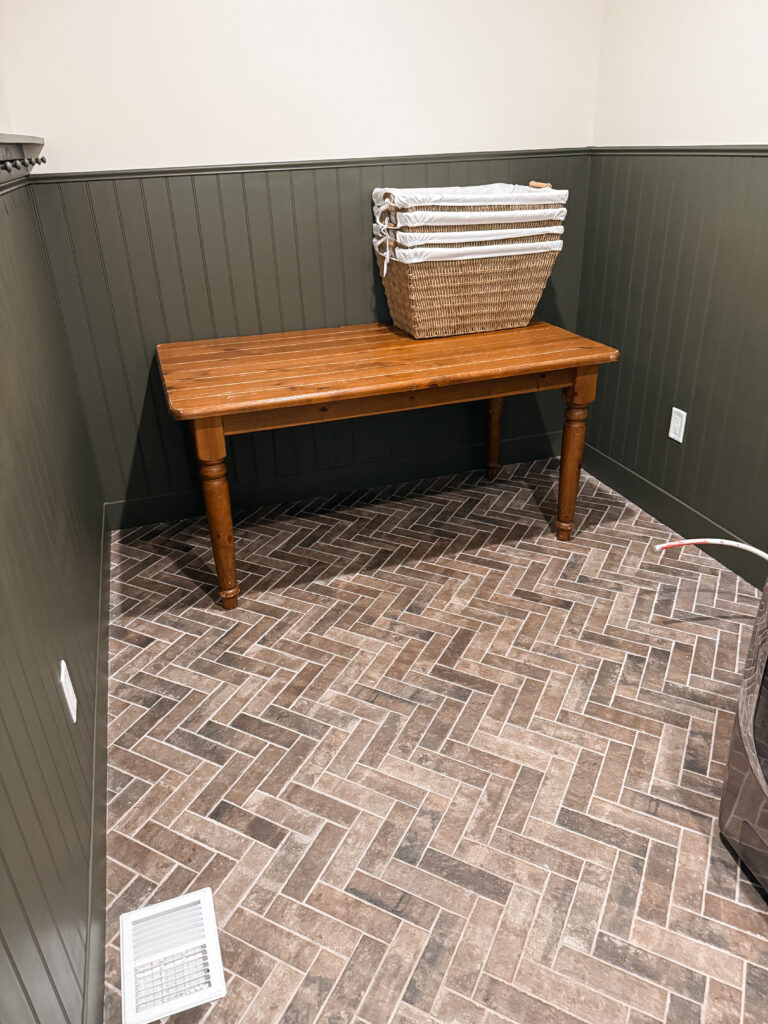
I had been looking for a table to use as a folding station in our laundry room when I found this one at the thrift store for only $10. It was actually in decent condition, but the finish had those really strong orange and red tones that immediately made it feel dated.
I wanted to make it darker and give it more of a vintage look—but I was also on a time crunch and absolutely did not want to completely strip and refinish a table.
So I tried something different.
Instead of stripping the existing finish, I lightly sanded the table by hand and used BEHR Stain & Poly In One to change the color and protect the surface at the same time.
The difference was SO good.
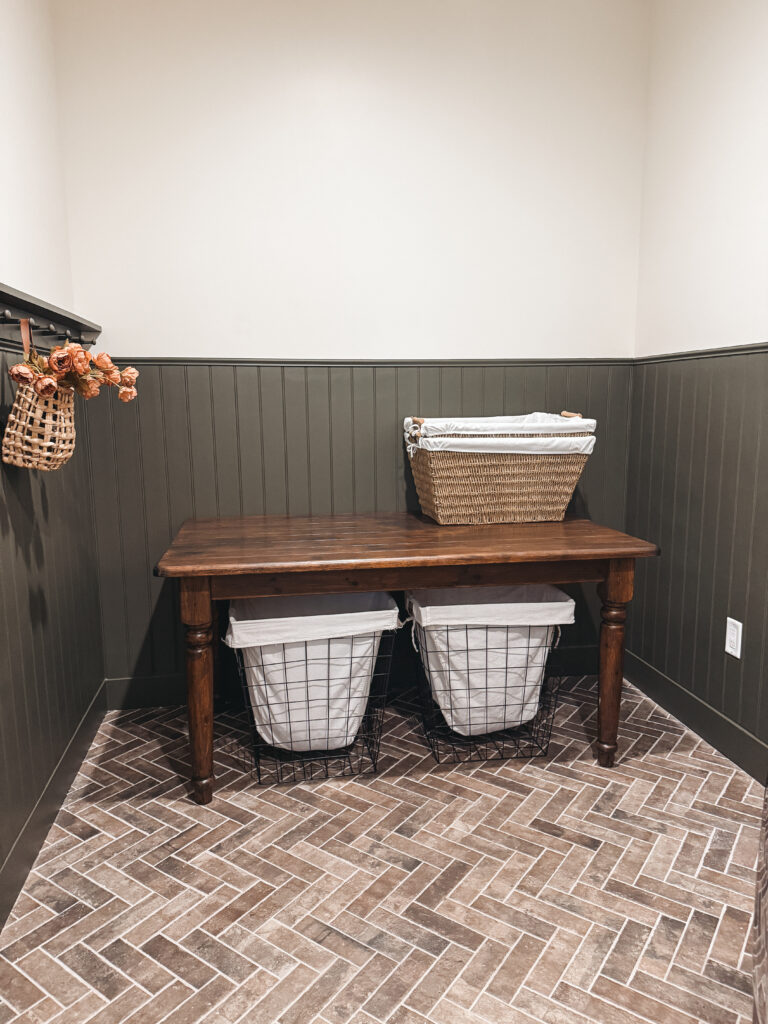
It went from an old, orange-toned thrift store table to a rich, dark table that looks vintage and adds so much character to the laundry room. And the actual project was incredibly simple.
If you’ve ever passed up thrifted furniture because you didn’t want to deal with completely stripping the old finish, this is an easy furniture flip to try.
Why I Wanted a Folding Table for Our Laundry Room
I’ve been slowly working on our laundry room and recently added beadboard wainscoting to give the room more character.
Someday, I’d love to add cabinets and a countertop in here, but that isn’t in the budget right now.
So instead, I started looking for an inexpensive table that could give me a designated place to fold laundry while also adding some personality to the room.
When I found this table at the thrift store for $10, I knew the size and style could work.
The color? Not so much.
It had a very orange-red finish that didn’t work with the look I wanted for the room. But because the table itself was in decent condition, I didn’t want to completely strip it down if I didn’t have to.
That’s when I decided to try BEHR Water-Based Stain & Poly In One.
Can You Refinish Furniture Without Stripping It?
Yes—in some cases, you can update previously finished wood furniture without completely stripping off the old finish.
For this table, I used BEHR Water-Based Stain & Poly In One, which is designed to be used on properly prepared interior wood surfaces, including previously finished furniture.
Instead of removing the entire existing finish, I cleaned the table, lightly scuff-sanded it by hand and applied the new finish over the top.
That made this project SO much faster than a traditional furniture refinishing project.
There’s an important distinction here, though: I didn’t skip prep altogether.
I still lightly sanded the existing finish. I just didn’t have to pull out a power sander and sand the piece all the way down to raw wood.
That makes this a really approachable option if you’re a beginner or simply want to update a piece of furniture without turning it into a huge project.
What I Used for This Easy Furniture Flip
One of my favorite parts about this project is how little I needed.
Materials
- BEHR Water-Based Stain & Poly In One
- Sanding block
- Krud Kutter
- Clean rag
- Stain brush
- Painter’s paper to protect the ground
And that’s it.
No power tools.
No stripping the entire table.
No complicated refinishing process.
I had my BEHR Stain & Poly tinted at the paint counter. The color I used was Cortado.
Because I specifically wanted to get away from the red/orange look of the existing table, I asked about choosing a color without strong red undertones. Cortado gave my table the rich, dark color I was looking for.
How to Refinish Furniture Without Stripping the Existing Finish
Here’s exactly what I did.
Step 1: Clean the Furniture
Before doing anything else, I cleaned the table.
You don’t want to put a new finish over years of dirt, dust or grime. If your furniture is particularly dirty, use a cleaner like Krud Kutter and then wipe everything down thoroughly.
Make sure the surface is clean before moving on.
Step 2: Lightly Sand by Hand
Next, I lightly sanded the table using a sanding block.
The goal here wasn’t to remove all of the existing stain or get the table back down to raw wood.
I just wanted to scuff the existing finish so the new product would have a better surface to adhere to.
This is what makes the process so much easier than completely refinishing a piece of furniture.
After sanding, wipe the entire piece down again and make sure you’ve removed all of the sanding dust.
Step 3: Apply the Stain & Poly
Now for the fun part.
I applied BEHR Stain & Poly In One using a stain brush and worked in the direction of the wood grain.
Because Cortado was pretty dark on this table, I worked the product into the wood as I applied it rather than leaving a heavy coat sitting on the surface.
That gave me much more control over the final color.
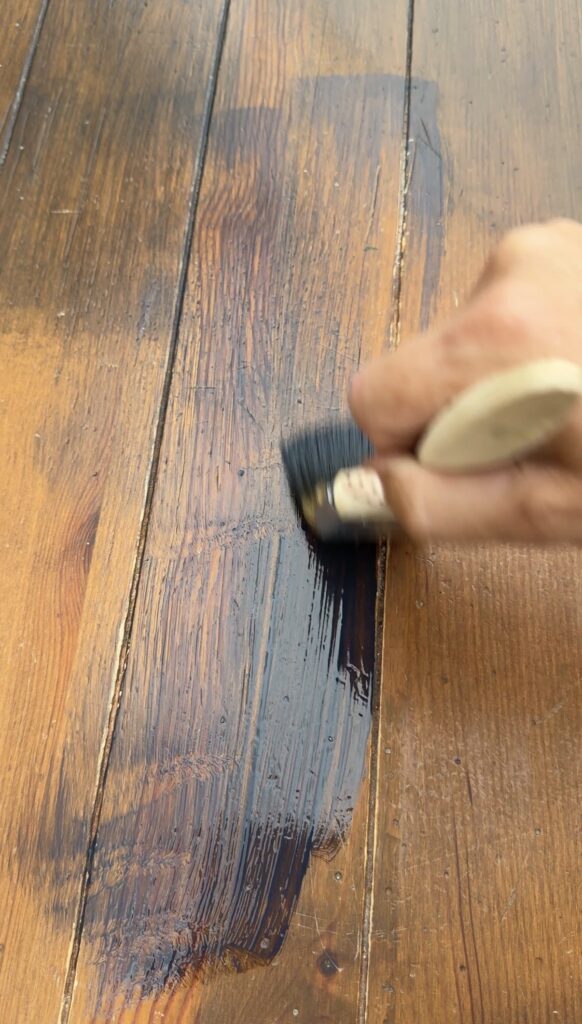
Watching those orange and red tones disappear was easily the most satisfying part of this furniture flip.
The table immediately started taking on the deeper, vintage look I wanted.
Step 4: Let It Dry and Reapply
Allow the first coat to dry according to the manufacturer’s directions before applying another coat.
For this project, I learned that thinner coats are definitely better.
I put the product on a little too thick in some areas. If I were doing this again, I would use two or three thinner coats instead of trying to build too much color at once.
Follow the product directions for drying, sanding between coats and recoating.
My Biggest Tip: Don’t Apply It Too Thick
If there’s one thing I would change about this furniture flip, this is it.
Use thin coats.
I was trying to get the dark color I wanted quickly and applied the product a little heavier than I should have in some areas.
Next time, I would rather build the color gradually with two or three thinner coats.
You’ll have more control over the color, and it makes it easier to work the product evenly across the furniture.
Why Stain & Poly Worked So Well for This Furniture Flip
What made me want to try this product in the first place was that it combined two parts of the finishing process.
Instead of staining the piece and then adding a separate polyurethane afterward, I could change the color and add protection with one product.
Even better for this particular project, I didn’t have to completely strip the existing finish first.
That’s a big deal when you’re flipping thrifted furniture because sometimes you don’t need—or want—to completely restore a piece.
You just want to make it better.
For this table, keeping some of its existing character was actually part of the goal. I didn’t want it to look brand new. I wanted it to feel like an older table that had earned its spot in the room.
The darker finish did exactly that.
How I Toned Down the Orange and Red Wood
One of the main reasons I wanted to refinish this table was the color.
The original finish had a lot of orange and red in it. I wanted something darker, richer and more neutral.
When choosing my new color, I specifically looked for something that wouldn’t add even more red to the table.
If you’re trying to correct an unwanted undertone in an existing furniture finish, pay attention to the undertones in the new color you’re adding rather than simply choosing “brown.”
And always test your color in an inconspicuous spot before committing to the entire piece.
The existing wood color underneath can affect how your new finish looks, so the exact same stain or tinted finish may look different from one piece of furniture to another.
How Long Did This Furniture Flip Take?
Here’s the slightly ridiculous part of this project:
I was racing a storm.
Not exactly the ideal way to refinish furniture, but I was already working on the table and could see the weather coming in.
I managed to finish my part of the project from start to finish in less than an hour, right before the rain started.
Obviously, drying and curing time is separate, and you should always follow the manufacturer’s directions before recoating or using the furniture.
But the actual hands-on work was incredibly quick.
That’s one reason I think this method is such a good option for a simple thrifted furniture makeover.
How Much Did This Furniture Flip Cost?
The table itself was only $10 at the thrift store, which made it perfect for this budget-friendly laundry room makeover.
My approximate project cost was around $40.
Instead of investing in permanent cabinetry and countertops right now, I ended up with a functional folding station that also adds character to the room.
Eventually, the laundry room may look completely different.
For now? This works beautifully.
Is This a Beginner-Friendly Furniture Flip?
Absolutely.
I would consider this a beginner DIY because I didn’t need any power tools or advanced DIY knowledge.
The basic process was:
Clean. Sand. Wipe. Apply. Reapply.
If the idea of completely stripping and refinishing furniture has kept you from trying a furniture flip before, starting with a piece that’s already in decent condition can make the project much less intimidating.
You don’t always need to completely reinvent a piece of furniture.
Sometimes it just needs a better color.
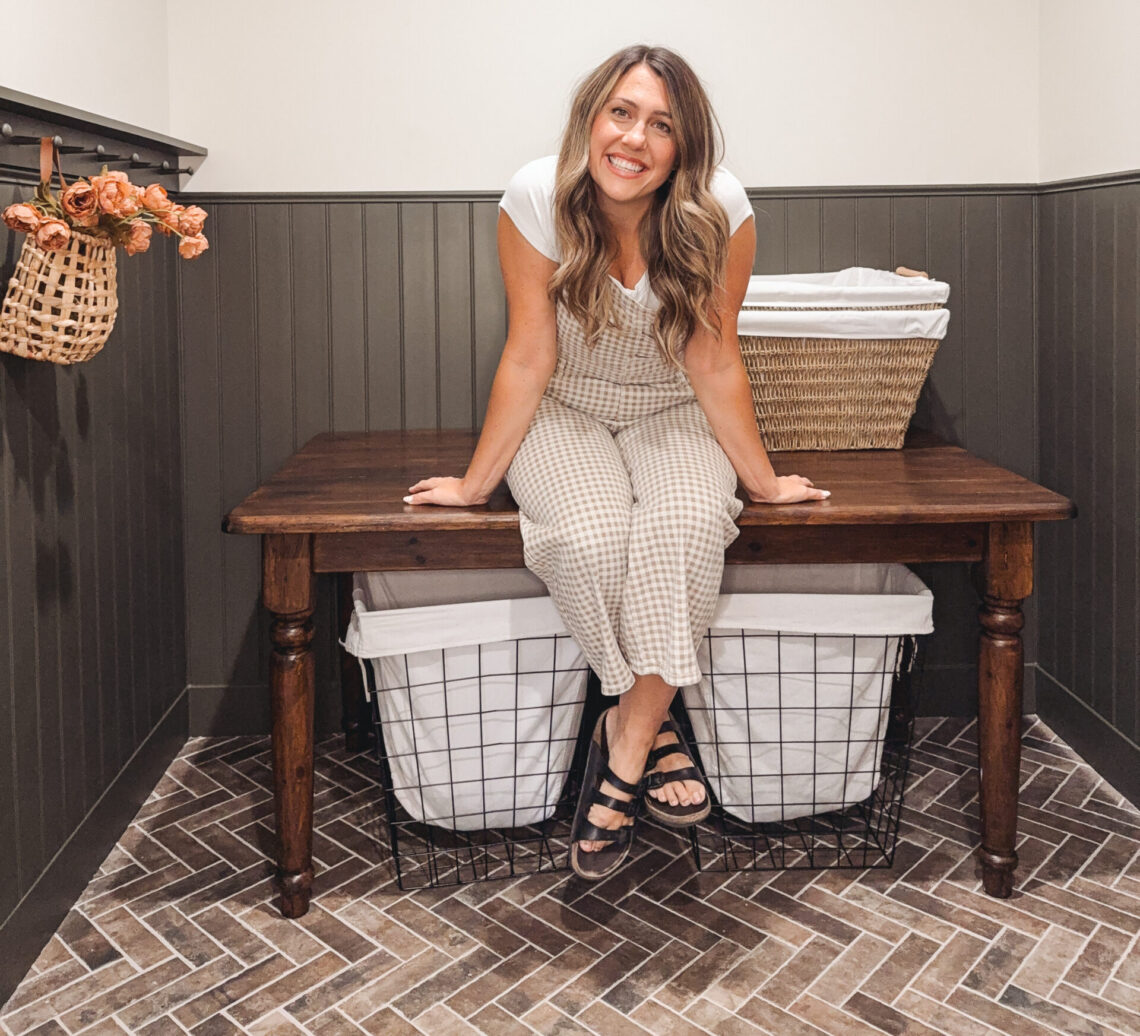
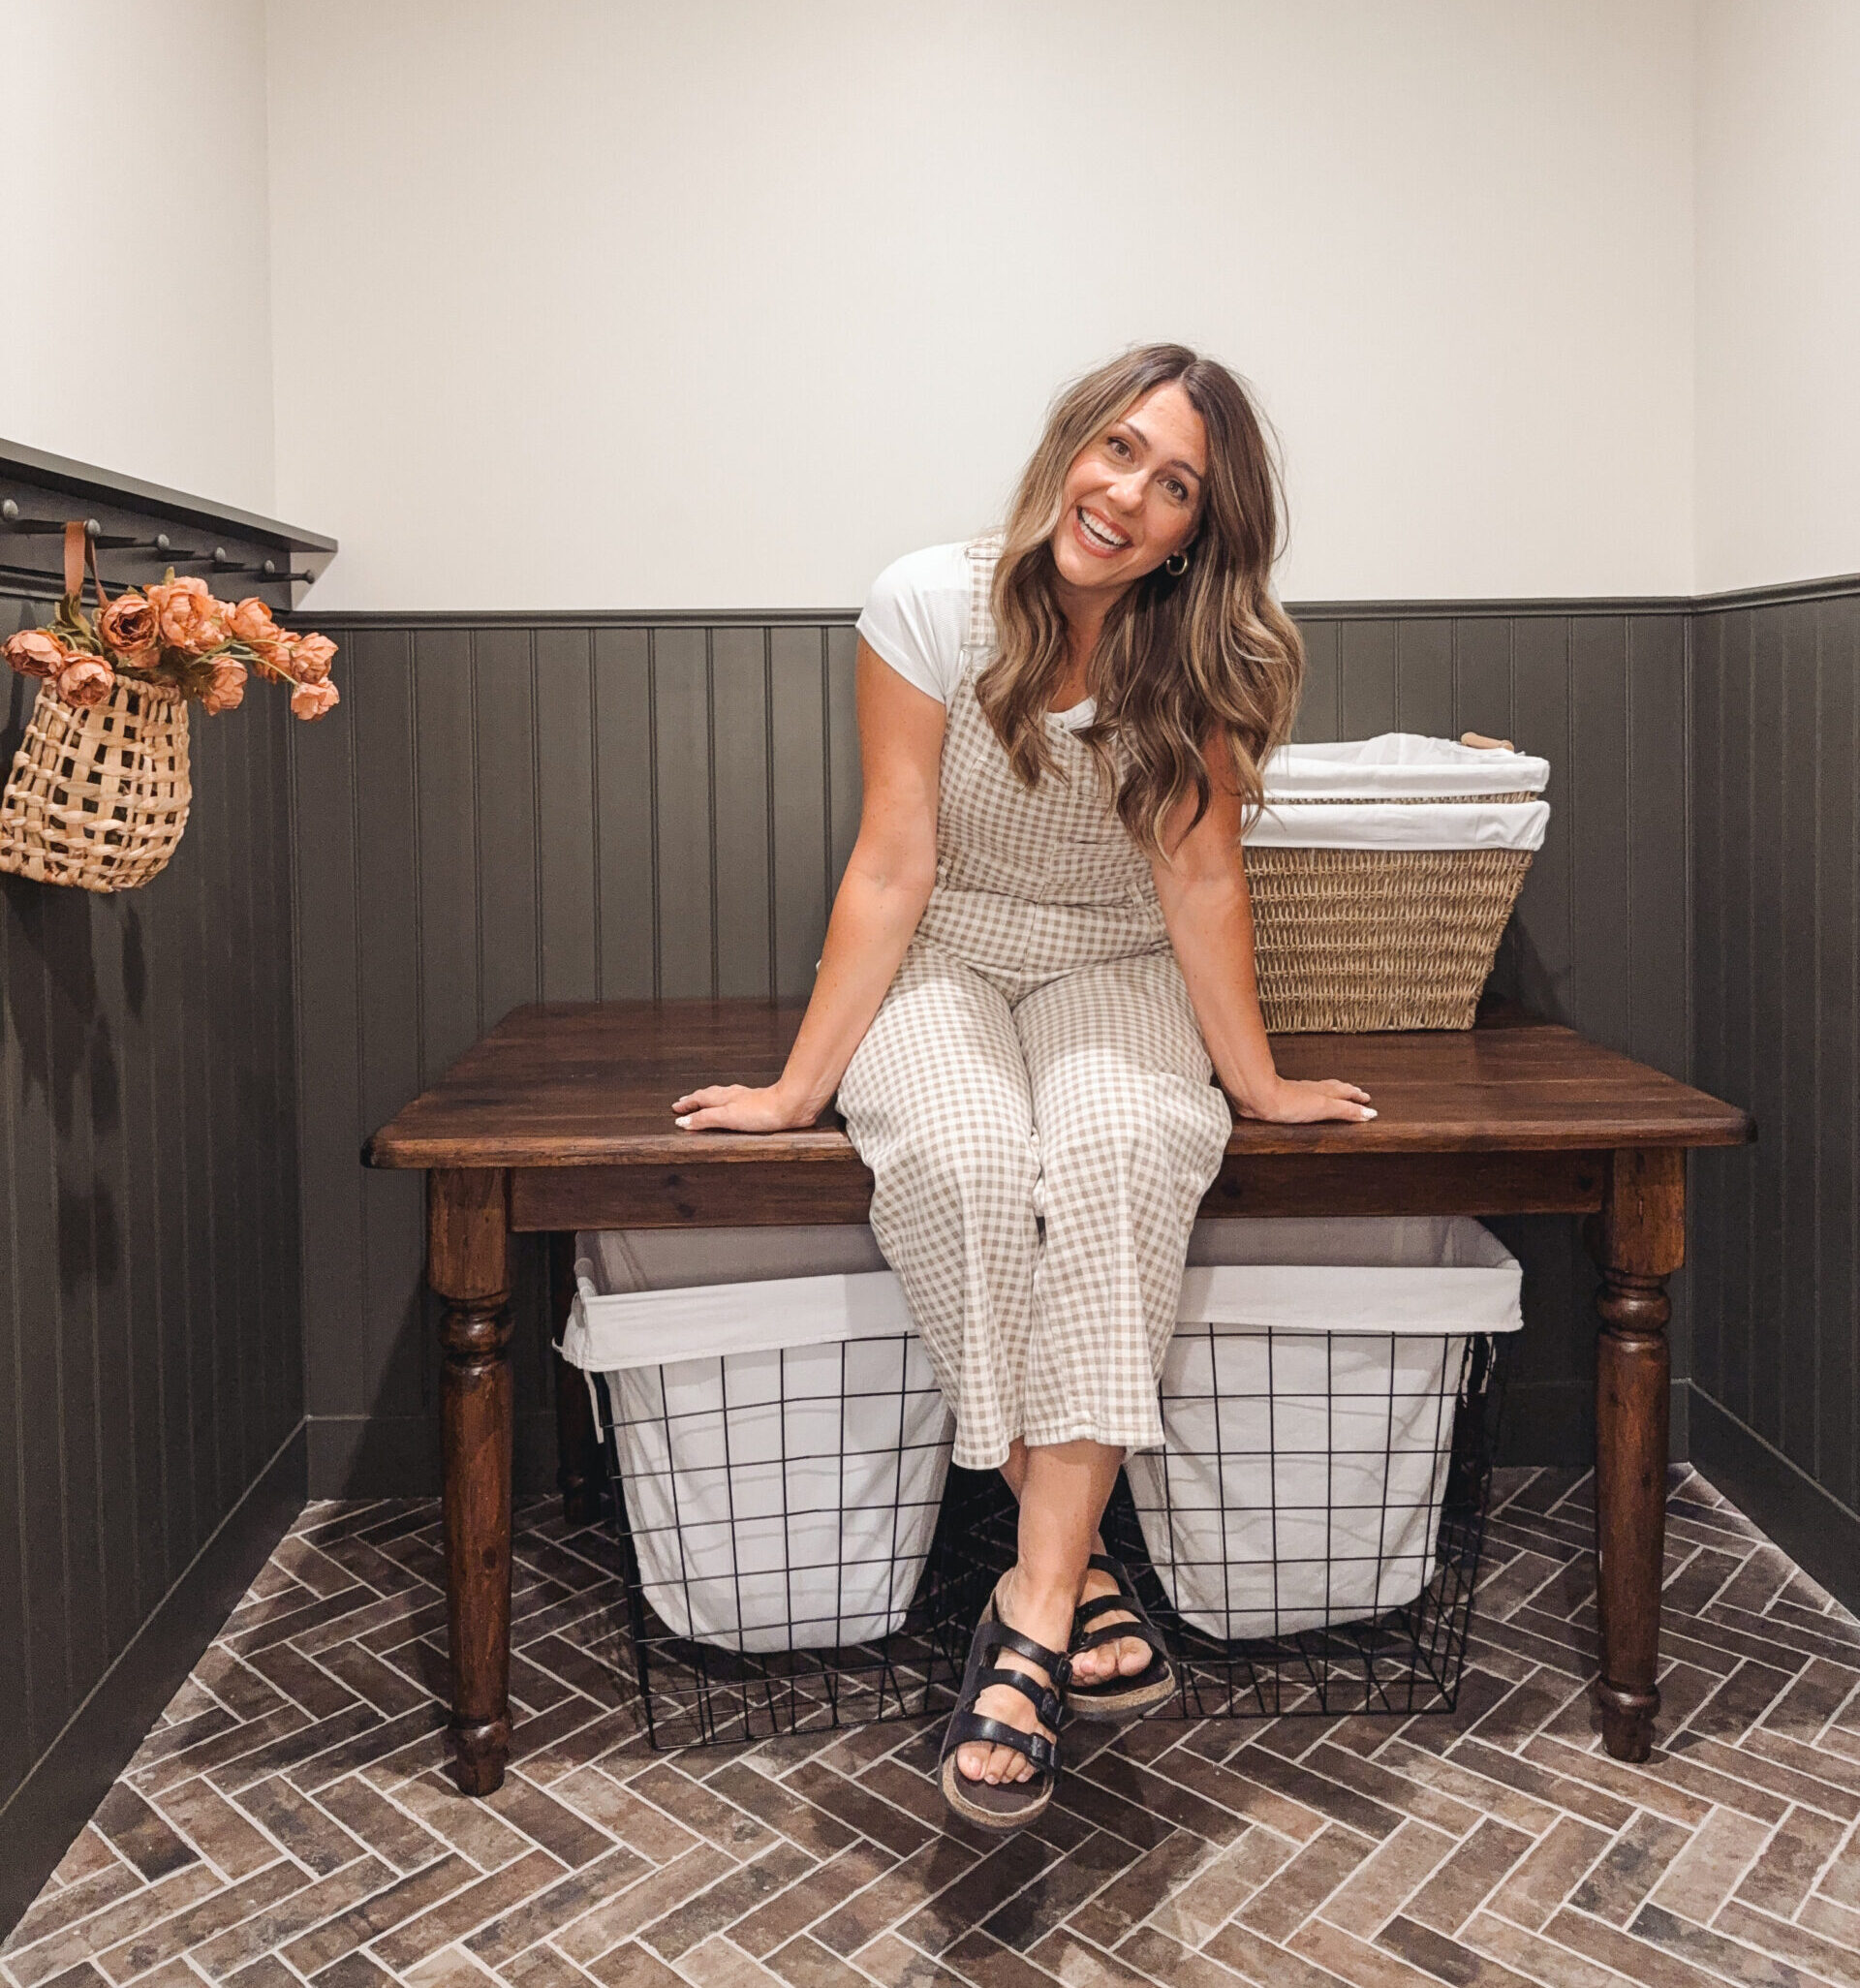
The Finished Thrifted Table
[IMAGE: Finished table reveal]
I can’t believe this started as a $10 thrift store table.
The darker finish makes it feel so much more vintage and gives the laundry room exactly the character I was hoping for.
And more importantly, I finally have a designated place to fold laundry without investing in cabinetry and countertops yet.
Old, dingy orange table → beautiful vintage folding space.
Quick. Easy. Cheap.
Exactly my kind of furniture flip.
If you like furniture flips, check out this IKEA nightstand hack
XOXO Haylee

You May Also Like
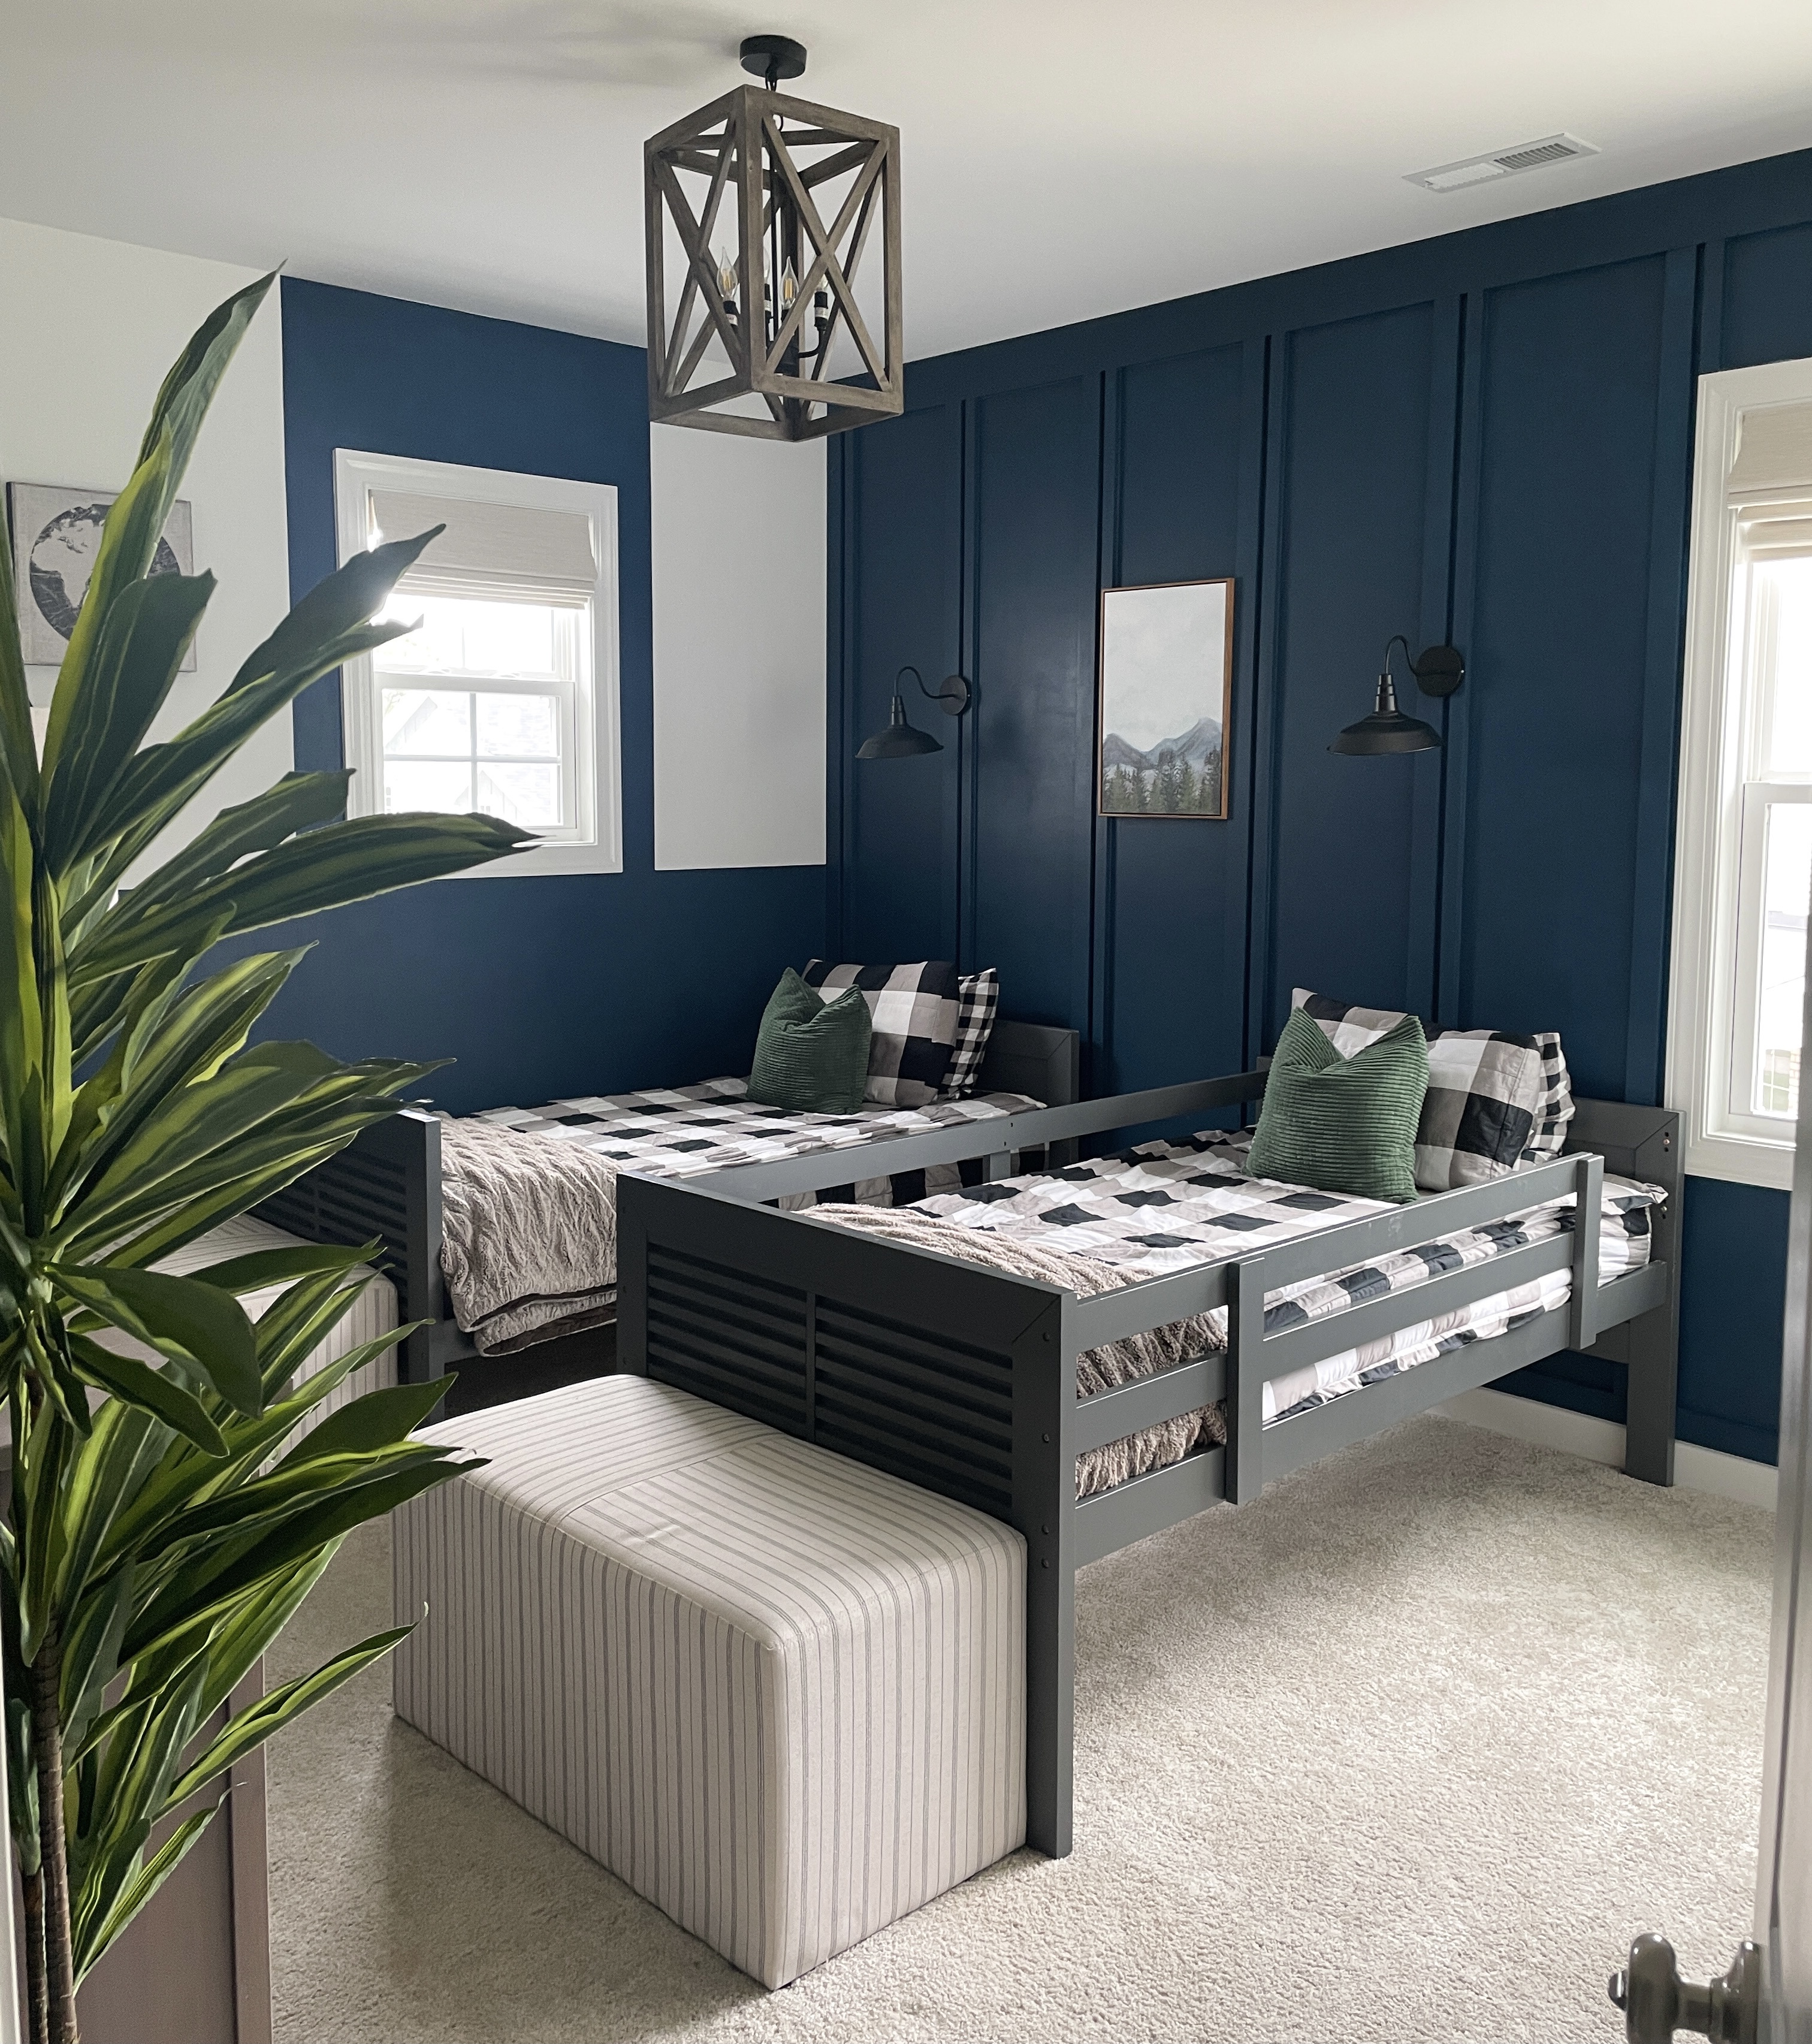
Double Board and Batten Wall-DIY-A Perfect Project for Beginners
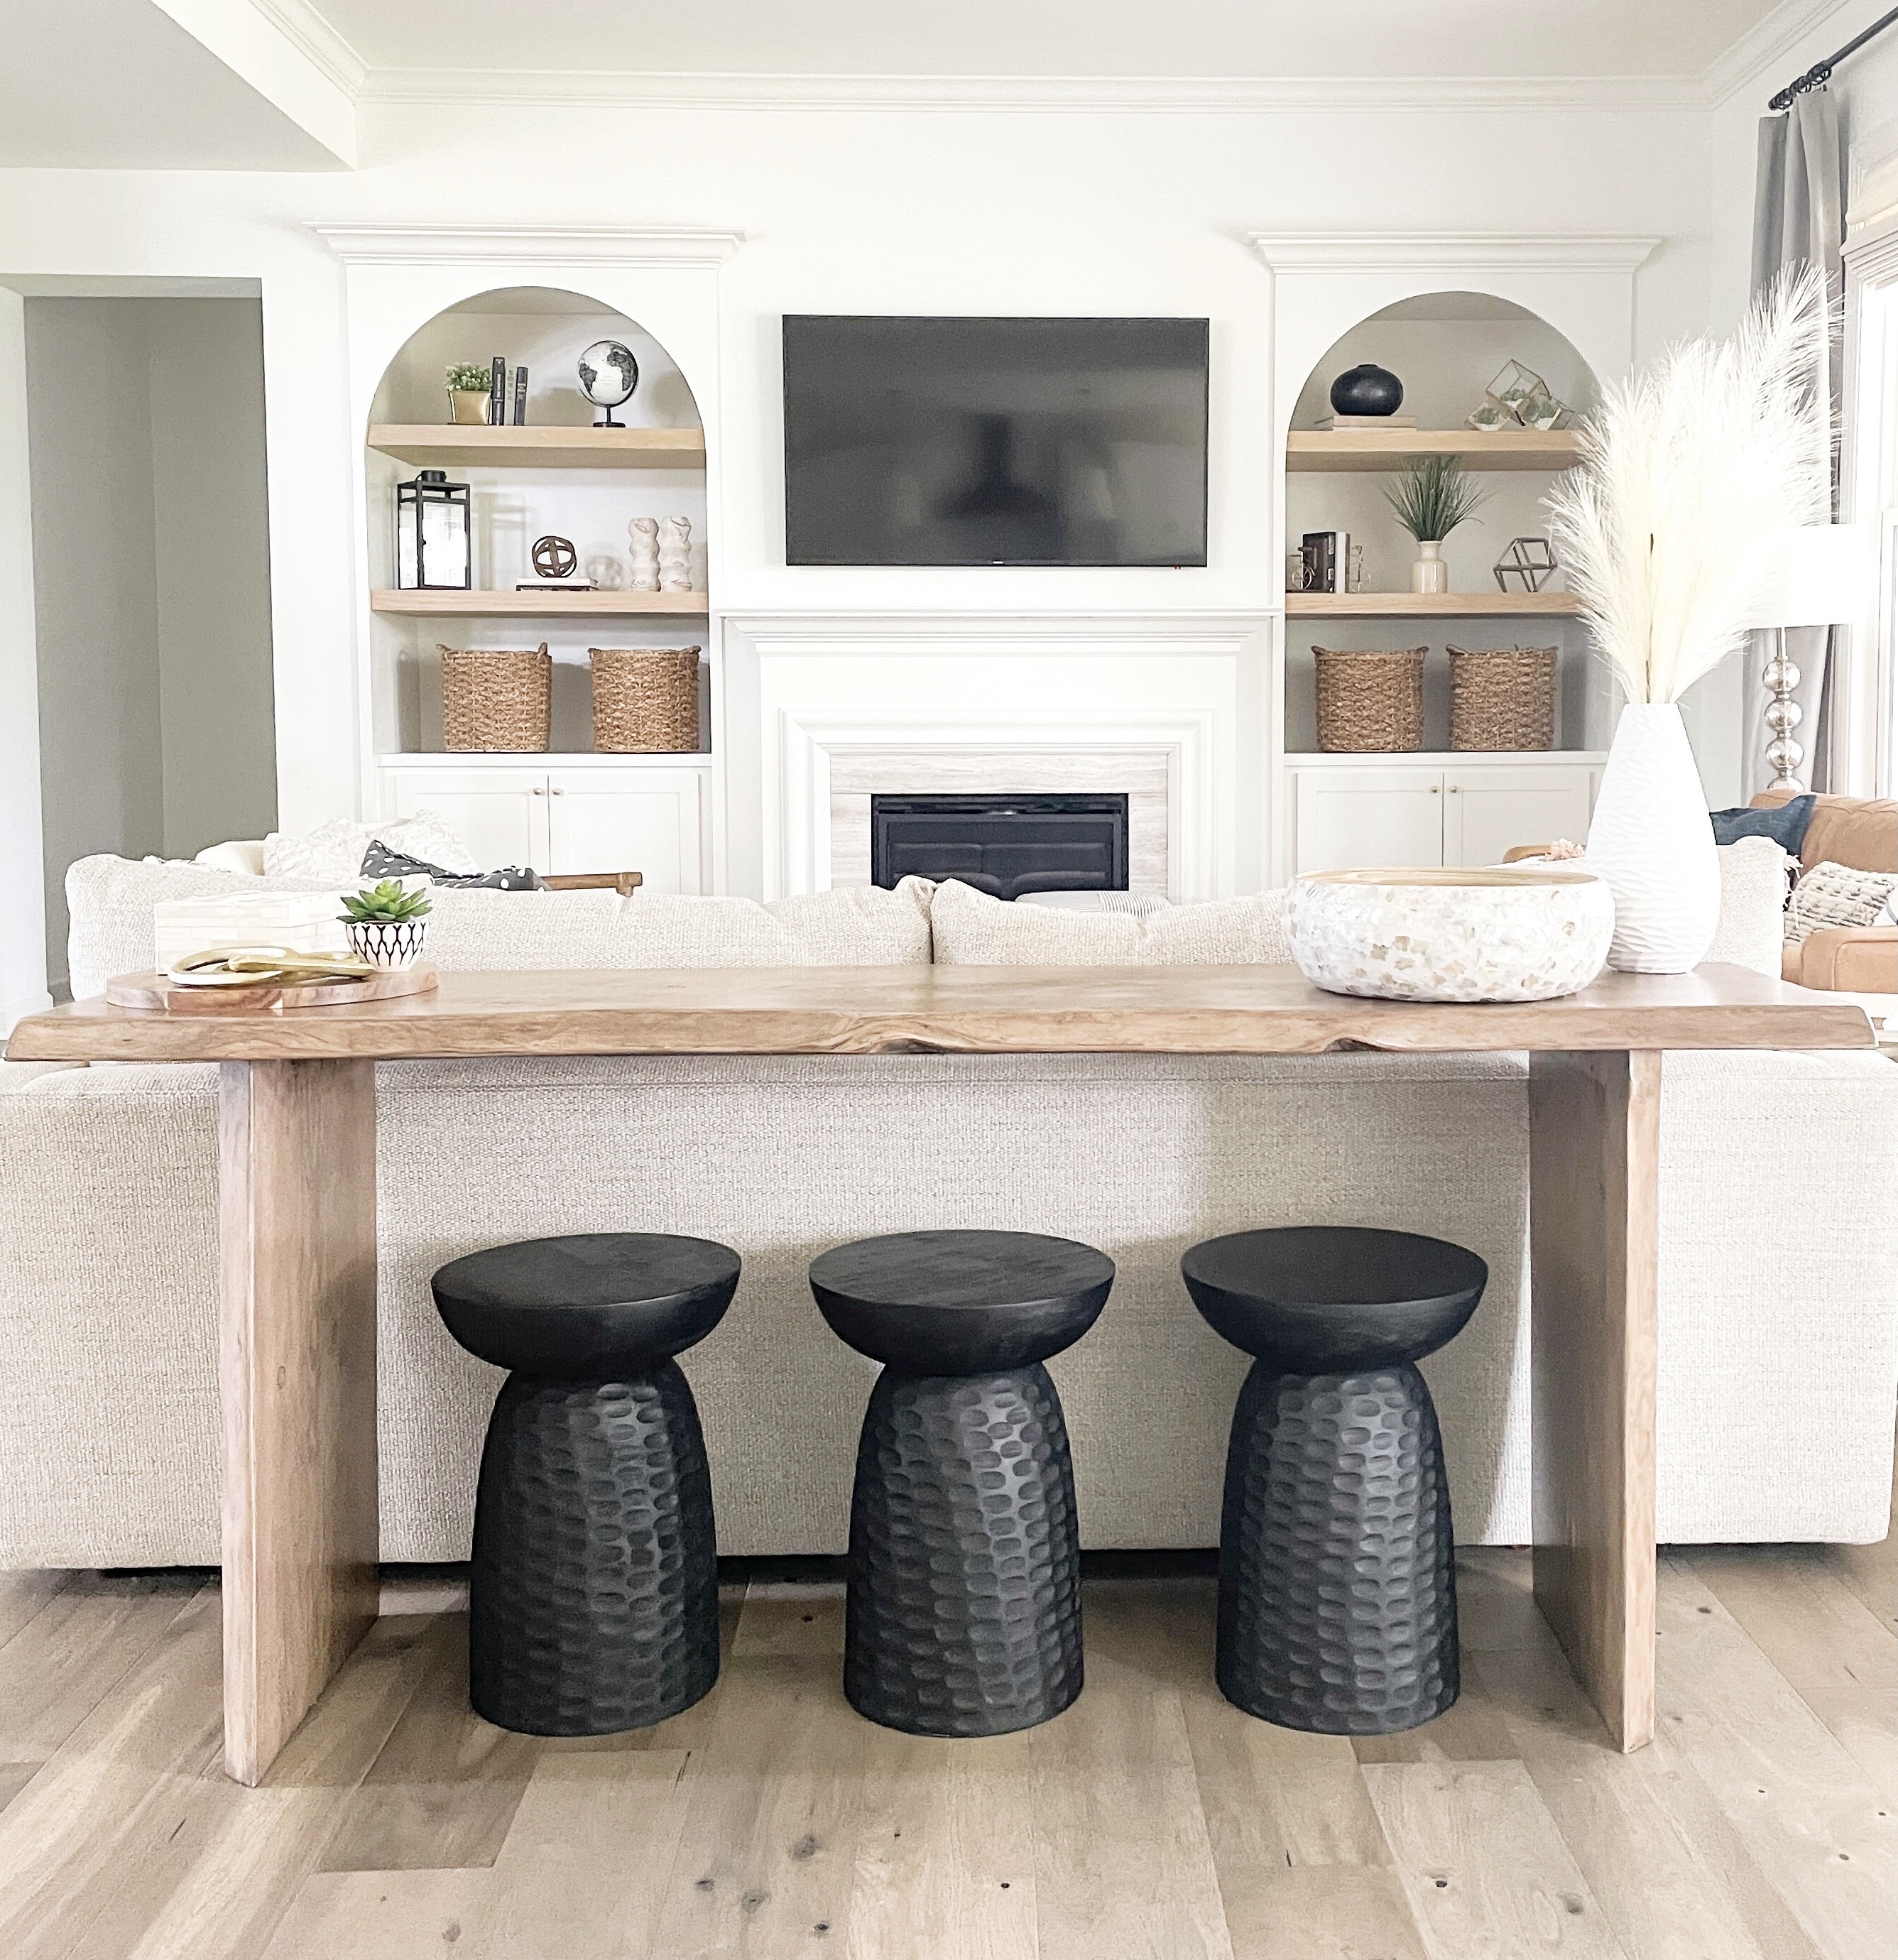
Live Edge Sofa Table- Designer Look, Do it Yourself Price